Crunchy Nutty Fingers Cookies: An Easy & Flaky Recipe for Every Occasion
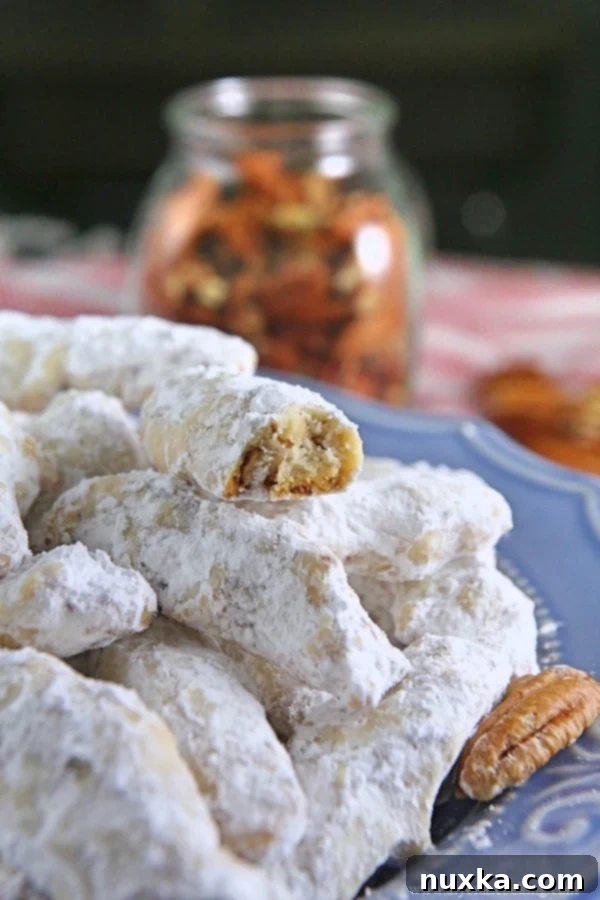
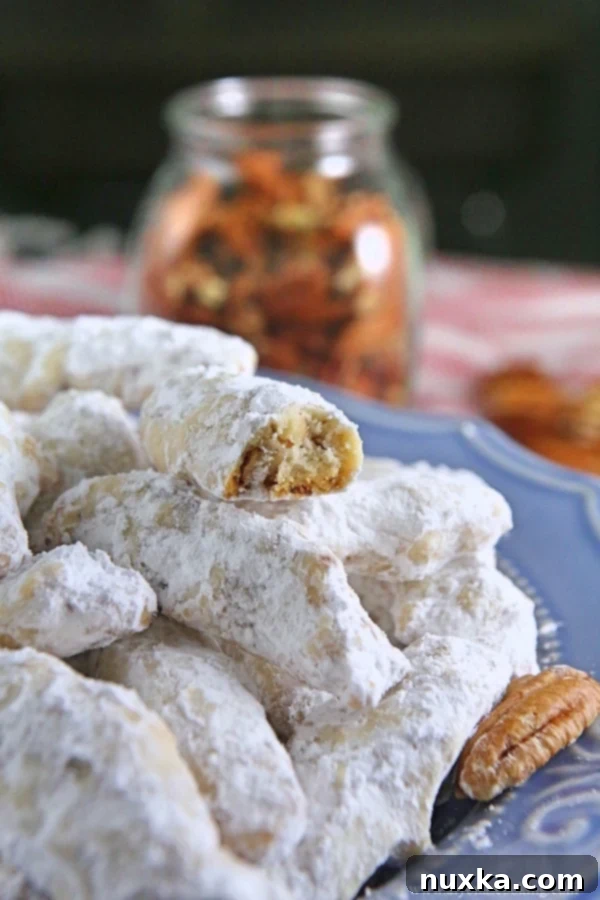
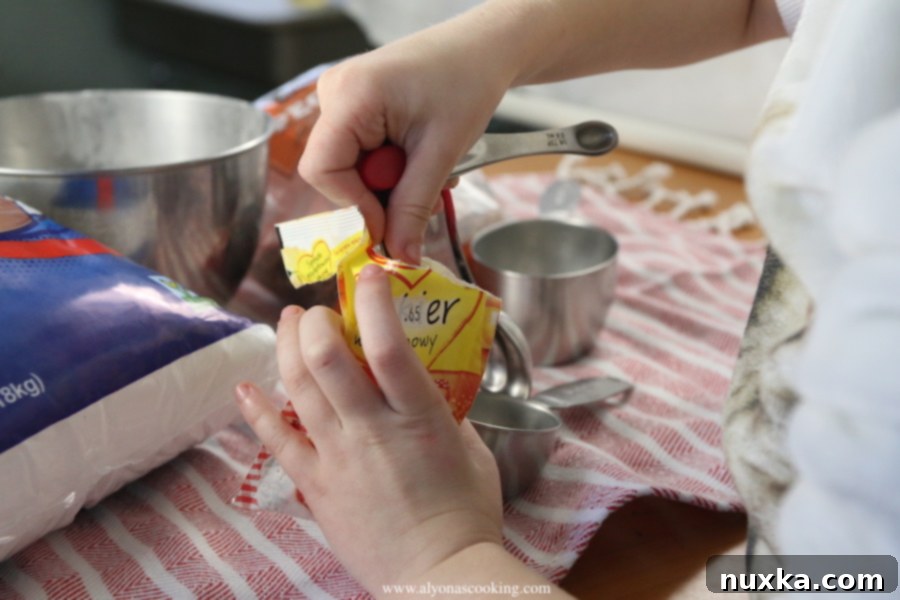
There’s something truly magical about a simple cookie that evokes warmth, nostalgia, and pure comfort with every bite. The cookie we’re celebrating today goes by many beloved names: Snowball cookies, Russian Tea cookies, or simply Nutty Fingers. Regardless of what you call them, these incredibly easy and delightfully flaky cookies are a staple for many, perfect for tea time, holiday gatherings, or just a sweet treat. What makes this particular recipe stand out is not only its simplicity – my then 7-year-old daughter could make them with minimal supervision – but also a happy accident that transformed a good recipe into an extraordinary one, resulting in cookies that are even flakier and crunchier than the original!
The Charming Origin: An Amish Cookbook Discovery
My journey with these delectable Nutty Fingers cookies began with a charming discovery in an old Amish cooking book. Above the recipe, a sweet inscription read: “Here is an easy recipe for little girls.” This immediately piqued my interest, knowing that recipes designed for ease often yield the most satisfying results. The original recipe, aptly named “Nutty Fingers,” promised simplicity, making it an ideal project for baking with children. While the cookbook provided a solid foundation, little did I know that a slight deviation would elevate these humble cookies to new heights of deliciousness.
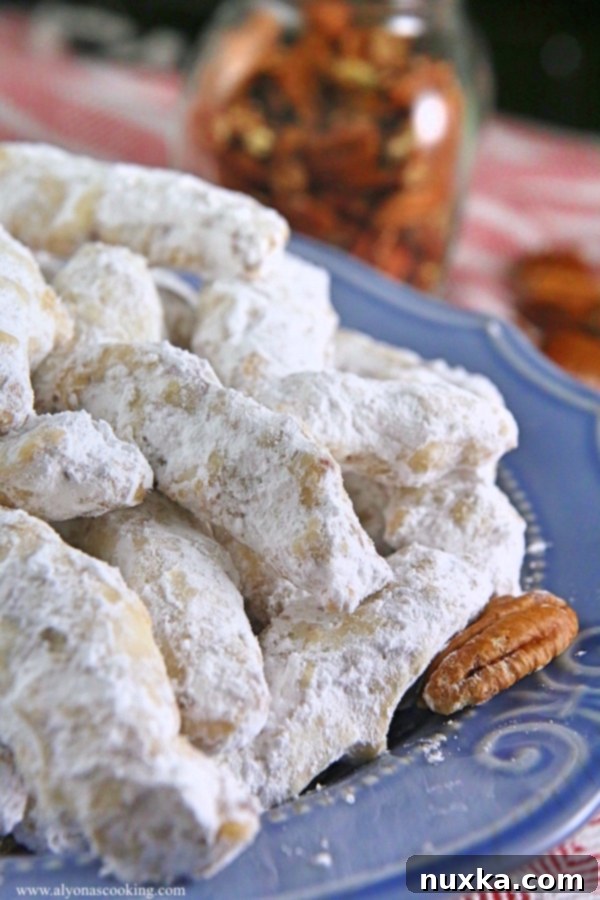
This recipe belongs to a beloved family of cookies known for their tender, melt-in-your-mouth texture and their generous dusting of powdered sugar. Whether you’ve encountered them as Snowball cookies at Christmas, Russian Tea cookies at a festive gathering, or Mexican Wedding cookies at a special event, the core appeal remains the same: a crumbly, nutty delight that’s impossible to resist.
A Happy Accident: The Secret to Extra Flaky & Crunchy Cookies
My daughter, an enthusiastic young baker, has enjoyed making these easy cookies before. However, one particular baking session led to an unexpected, yet fantastic, improvement. The original Amish recipe called for just one stick of margarine for one cup of flour. Unbeknownst to her, my daughter used two sticks of fat – specifically, one stick of butter and one stick of margarine – instead of the single stick of margarine. This delightful oversight meant that more flour was required to achieve the correct dough consistency. The result? A batch of Nutty Fingers that were not only much flakier but also significantly crunchier than any we had made before!
This accidental tweak taught us a valuable lesson in baking: sometimes, breaking the rules can lead to delicious innovation. The combination of butter and margarine, along with the adjusted flour ratio, created a richer, more tender dough that baked up beautifully. The increased fat content contributed to an incredibly delicate crumb, while the slight increase in flour provided just enough structure to maintain that desirable crunch. I was absolutely thrilled with the outcome of these improved Nutty Fingers cookies and wholeheartedly recommend this enhanced version for anyone seeking a quick, satisfying, and utterly irresistible cookie recipe.
Essential Ingredients for Your Perfect Nutty Fingers
Crafting these delightful Nutty Fingers cookies requires a handful of simple, readily available ingredients. The beauty of this recipe lies in its straightforward nature, proving that you don’t need exotic items to create something truly special. Here’s a closer look at what you’ll need and why each component is crucial for achieving that perfect flaky and crunchy texture:
- Margarine & Butter Blend: While the original recipe called for margarine, our “happy accident” revealed that a combination of one stick of unsalted butter and one stick of margarine yields superior results. Butter adds a rich, dairy flavor, while margarine contributes to the desired flakiness. Ensure both are at room temperature for optimal creaming.
- Powdered Sugar (for the dough): A quarter cup of powdered sugar is incorporated directly into the dough. This fine sugar dissolves easily, contributing to the cookies’ tender texture and delicate sweetness without adding a grainy feel.
- Vanilla Extract: One teaspoon of pure vanilla extract (or half a teaspoon of vanilla sugar for an extra aromatic touch) enhances the overall flavor profile, adding a warm, inviting aroma that complements the nuts beautifully.
- All-Purpose Flour: About 1.5 cups of all-purpose flour provides the structural base for these cookies. The exact amount may vary slightly depending on your fat content and environmental humidity, but it’s crucial for achieving the right dough consistency.
- Chopped Nuts: One cup of finely chopped nuts is what truly makes these “Nutty Fingers.” Pecans are highly recommended for their buttery flavor and tender crunch, but walnuts or even almonds can be used for a different twist. Make sure they are finely chopped to distribute evenly throughout the dough and prevent the cookies from crumbling.
Step-by-Step Guide to Baking Crunchy Nutty Fingers
Making these homemade cookies is a breeze, even for novice bakers. Follow these simple steps to ensure a batch of perfect flaky and crunchy Nutty Fingers every time:
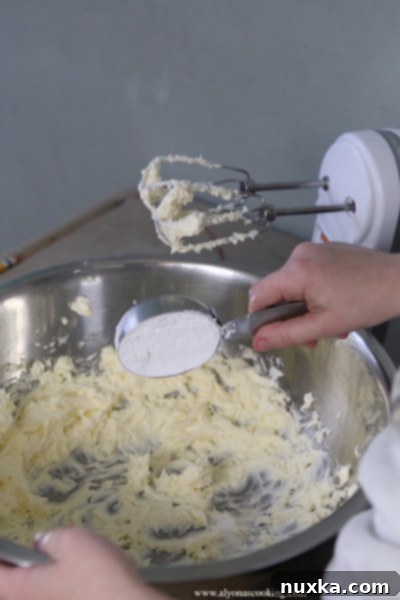
- Cream the Fats and Sweetener: In a large mixing bowl, cream together the two sticks of margarine (or your recommended blend of one stick butter and one stick margarine) until light and fluffy. This step incorporates air, which is vital for a tender cookie. Gradually mix in the 1/4 cup of powdered sugar and the vanilla extract (or vanilla sugar) until well combined and smooth.
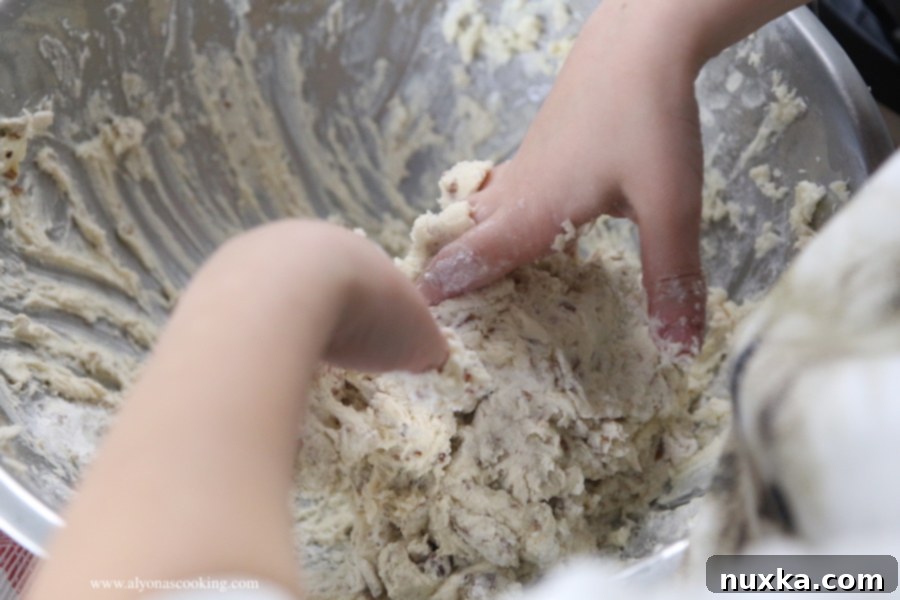
- Incorporate Dry Ingredients and Nuts: Gradually add the 1 1/2 cups of all-purpose flour to the creamed mixture, mixing on low speed until just combined. Be careful not to overmix, as this can lead to tough cookies. Fold in the 1 cup of chopped nuts (pecans work wonderfully here) until they are evenly distributed throughout the dough.
- Check Dough Consistency: The dough should resemble a “tacky play-dough.” It should be firm enough to handle but still slightly sticky. If the dough is too sticky to work with, add a tablespoon of flour at a time until it reaches a manageable consistency. Avoid adding too much flour, as this can make the cookies dry.
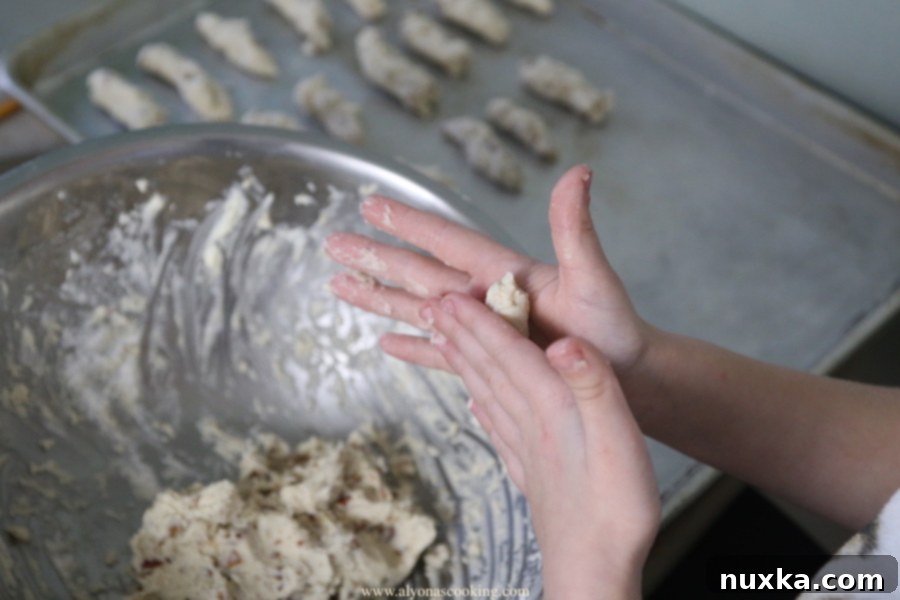
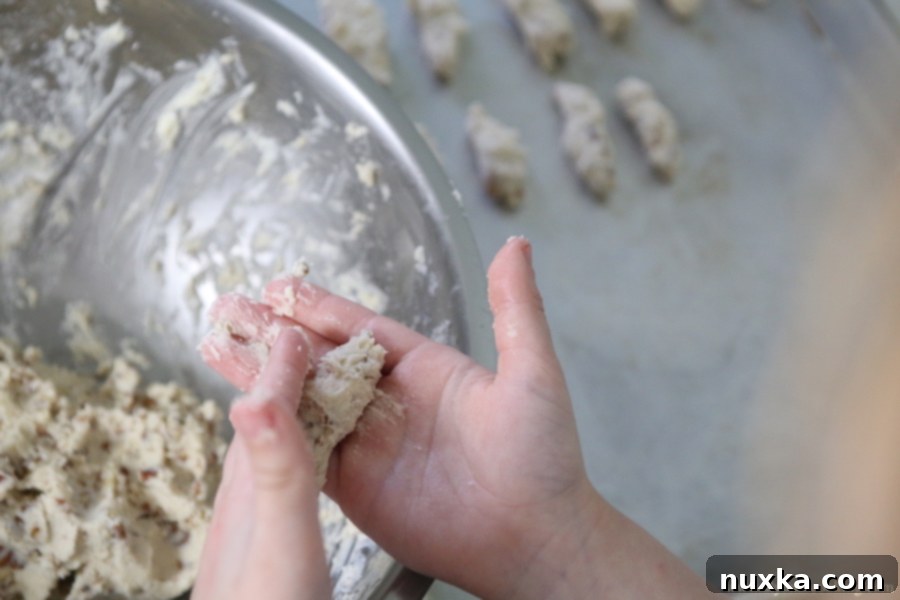
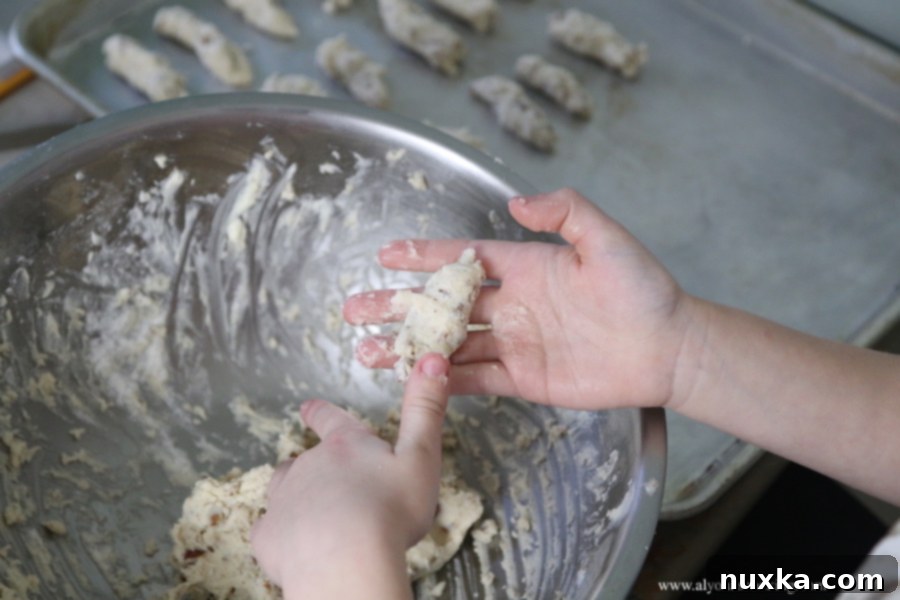
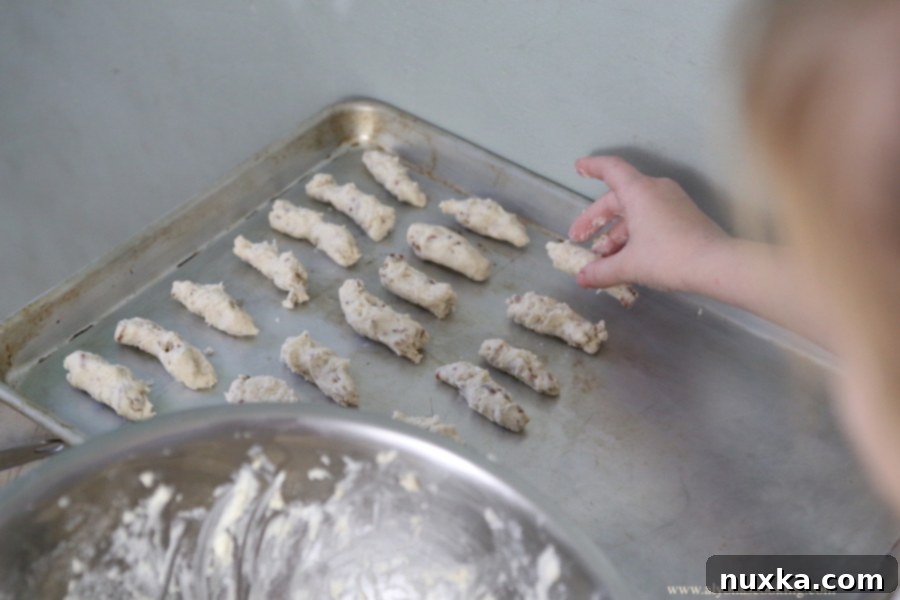
- Form and Bake: Preheat your oven to 350°F (175°C). Line a baking sheet with parchment paper. Take small portions of the dough and roll them into finger-sized logs, roughly the size of your pinky finger. Arrange them about an inch apart on the prepared baking sheet. Bake for 20-25 minutes, or until the edges are lightly golden brown. The cookies will still be soft when they come out of the oven.
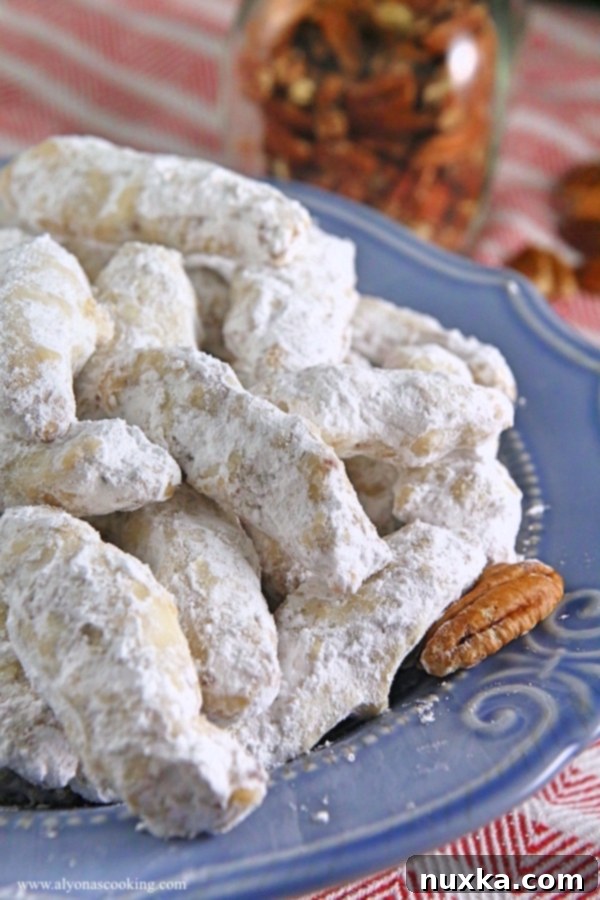
- Cool and Dust with Powdered Sugar: Allow the cookies to cool on the baking sheet for a few minutes before carefully transferring them to a wire rack to cool completely. Once completely cool, generously roll them in powdered sugar. For an extra layer of sweetness and that iconic “snowball” look, you can dredge them in powdered sugar a second time.
Tips for Baking Success:
- Room Temperature Ingredients: Ensure butter and margarine are at room temperature for smooth creaming, which helps achieve a light and airy dough.
- Don’t Overmix: Mix flour just until combined to avoid developing too much gluten, which can make cookies tough.
- Patience with Cooling: Rolling warm cookies in powdered sugar will cause the sugar to melt. Wait until they are completely cool for the best coating.
- Nut Variety: While pecans are classic, feel free to experiment with walnuts, almonds, or even a mix for unique flavor profiles.


Serving and Storage Suggestions
These Crunchy Nutty Fingers cookies are incredibly versatile. They make an ideal accompaniment to a warm cup of tea or coffee, providing a delicate sweetness and satisfying crunch. Their elegant, snow-dusted appearance also makes them a fantastic addition to holiday platters, cookie exchanges, or as a thoughtful homemade gift. For optimal freshness, store these cookies in an airtight container at room temperature for up to a week. They also freeze beautifully for up to a month, though you might want to re-dust them with powdered sugar after thawing for that fresh, snowy finish.
Why These Easy Cookies Are a Must-Try
In a world of complex recipes and intricate desserts, the Nutty Fingers cookie stands out for its elegant simplicity and undeniable charm. It’s a testament to how basic ingredients, when combined with a little love and perhaps a happy accident, can create something truly memorable. Whether you’re a seasoned baker looking for a quick treat or a beginner eager to try a foolproof recipe, these flaky, nutty, and subtly sweet cookies are guaranteed to become a family favorite. Give them a try, and you’ll understand why these “little girls’ cookies” have captivated hearts for generations!
Rate
Pin
Crunchy Nutty Fingers Cookies
Ingredients
-
2 sticks of margarine recommend 1 stick of butter and 1 stick of margarine
-
1/4 cup powdered sugar
-
1 tsp vanilla or 1/2 tsp of vanilla sugar
-
1 1/2 cups flour
-
1 cup chopped nuts pecans
Instructions
-
Cream margarine; mix in sugar and vanilla then flour and nuts.
-
Form cookies the size of a pinky finger and bake 20-25 minutes in a 350° oven, or until edges are brown.
-
Cool and roll in powdered sugar (dredge them again for an extra layer of sugar if desired.)
-
Note: Dough should be like tacky play-do but if too sticky add a tablespoon of flour until easier to handle.

