Easy No-Knead Focaccia Bread Rolls: Your Ultimate Guide to Homemade Sandwich Perfection
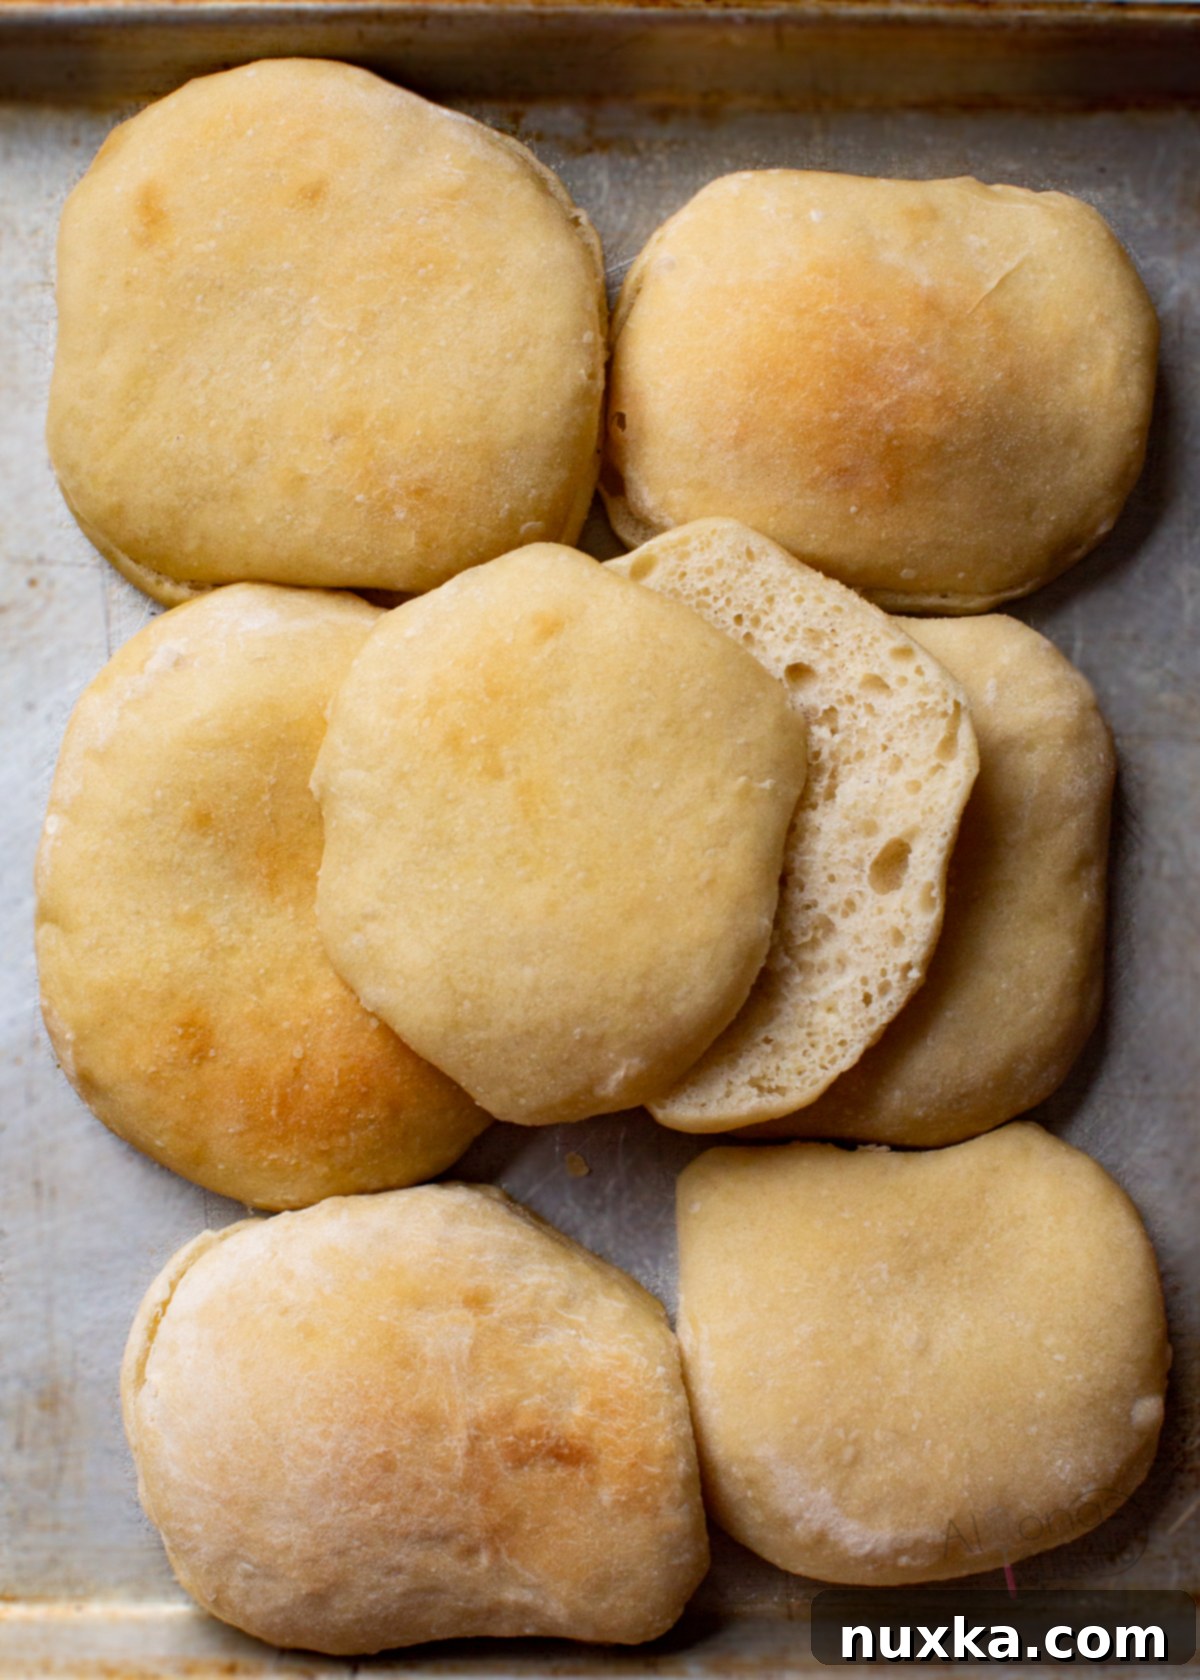
Focaccia Bread Rolls are a quintessential Italian delight, known for their distinct flat shape, chewy texture, and aromatic olive oil infusion. This particular focaccia recipe offers a fantastic alternative to traditional bread, providing rolls that boast a wonderfully open, airy crumb, yet are dense enough to absorb all your favorite sandwich spreads and sauces without becoming soggy. With a crispy crust and incredibly soft interior, these rolls are reminiscent of ciabatta but scaled down into perfect, individual servings. What makes this recipe truly special is its incredible ease; the dough is simple to handle and forgiving, making it ideal for home bakers of all skill levels. Their rectangular or square shape is perfectly suited for crafting delicious panini sandwiches, and the best part? They freeze beautifully, ensuring you always have artisanal bread on hand for quick meals!
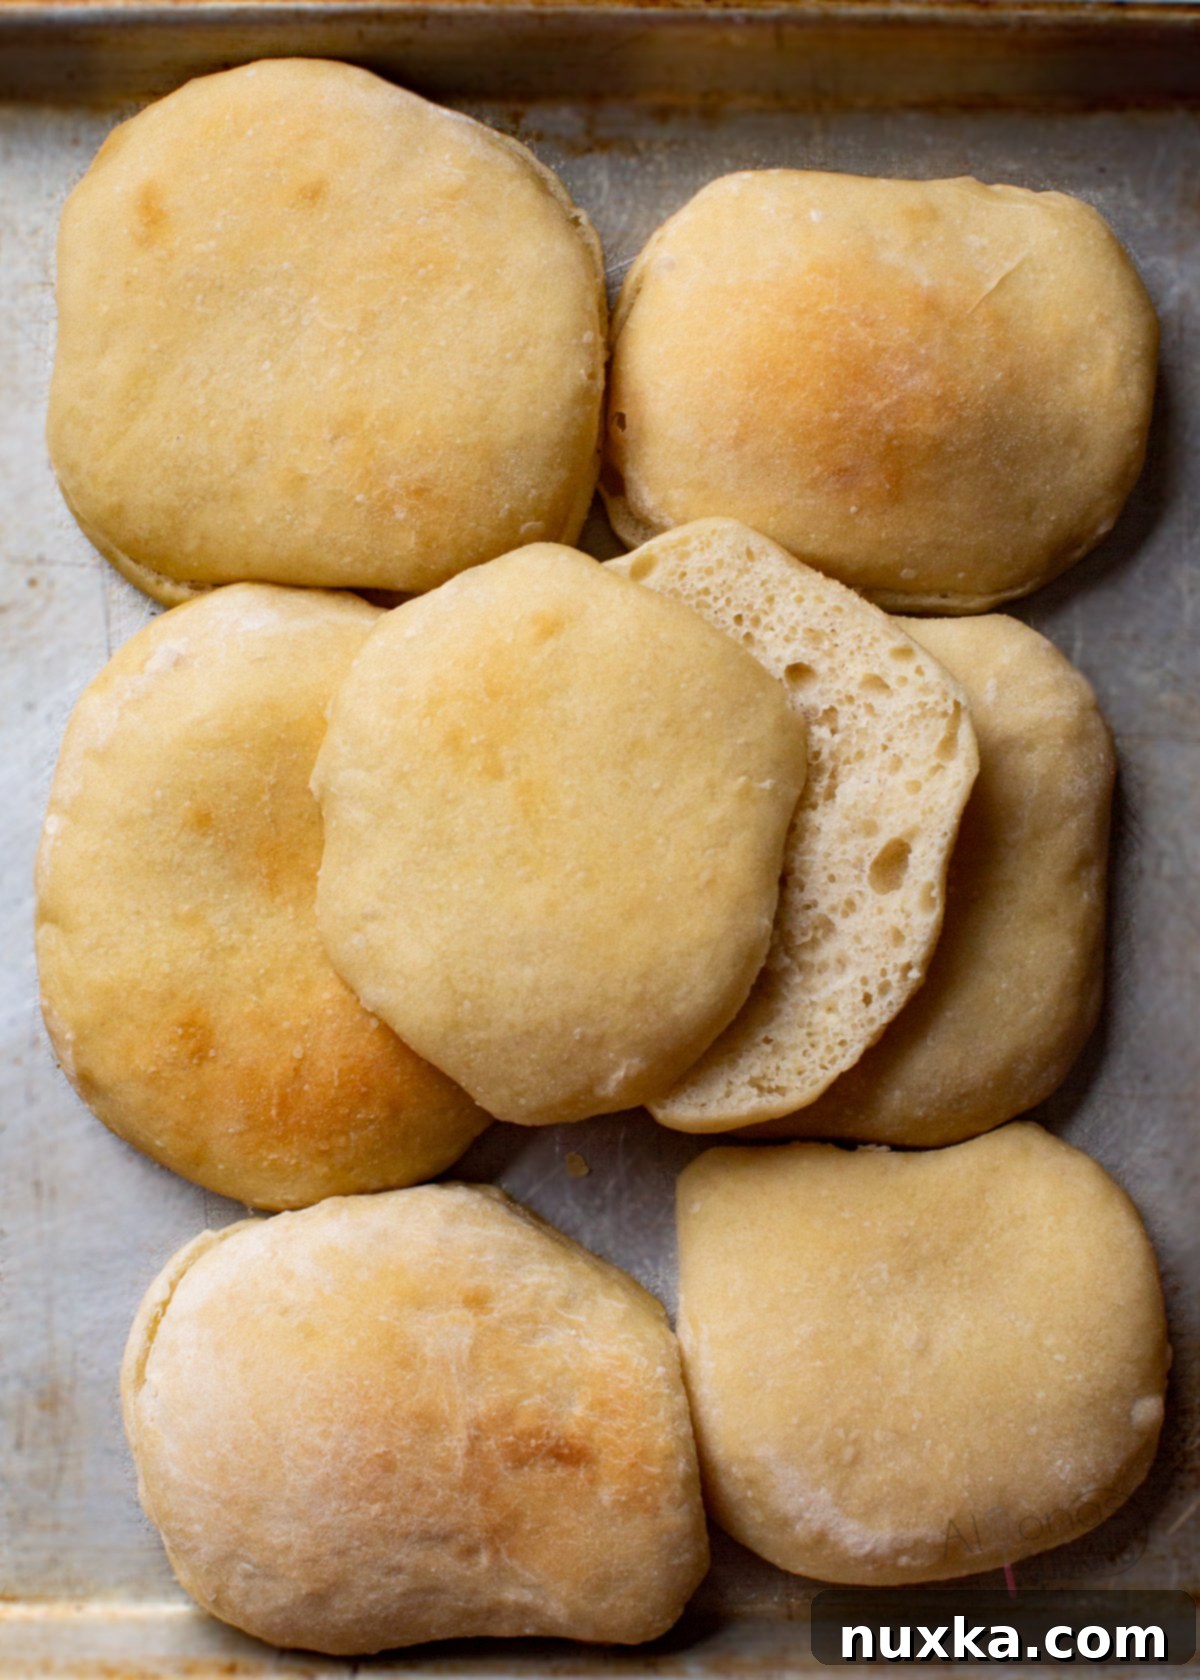
While these individual rolls are perfect for sandwiches, this versatile Focaccia Bread Recipe can also be adapted for sheet pan focaccia, ideal for cutting into larger squares, or even shaped into traditional round loaves. Our family especially loves using these for a hot panini sandwich, but they’re equally fantastic with classic cold cuts like a savory Genovese salami. If you’re a bread enthusiast, we encourage you to explore our extensive collection of bread recipes, including favorites like our highly-rated sourdough bagels, the incredibly simple No-Knead Bread, or our authentic Neapolitan Italian pizza dough!
What is Focaccia? A Deep Dive into this Italian Classic
Focaccia (pronounced Fuh-Kaa-Chuh) is a beloved flat Italian bread, deeply rooted in Italian culinary traditions, particularly from the Liguria region. Leavened with yeast, its distinctive texture comes from a generous application of olive oil, both within the dough and brushed on top before baking. This olive oil not only imparts a rich, savory flavor but also contributes to its characteristic crispy crust and tender, airy interior. Traditionally, focaccia is flavored with sea salt, rosemary, sage, or other aromatic herbs. In its homeland, especially around Genoa, you’ll often see the surface of the bread dotted with finger-sized indentations, designed to hold pools of olive oil and additional seasonings, ensuring every bite is bursting with flavor.
While typically baked as a large sheet, focaccia rolls are smaller, bun-sized portions that are perfect for individual servings, making them an excellent choice for sandwich bread or dinner rolls. The dough is known for being well-hydrated, which contributes to its soft crumb, and often requires extra flour or olive oil when shaping to prevent sticking. Despite its flat appearance, good focaccia should be thick enough to slice horizontally and fill. Its texture shares some similarities with French bread and ciabatta, yet it’s often denser and more compact, which makes it incredibly sturdy and ideal for panini presses or hearty sandwiches, standing up beautifully to moist fillings.
Ciabatta vs. Focaccia: Understanding the Differences
While both focaccia and ciabatta are iconic Italian flatbreads made primarily from wheat flour, they possess distinct characteristics that set them apart. Understanding these differences can help you appreciate their unique qualities and choose the right bread for your culinary needs.
- Hydration and Crumb Structure: Ciabatta, meaning “slipper” in Italian due to its shape, is generally a much higher hydration dough than focaccia. This higher water content results in a more open, irregular crumb with large, airy holes. Focaccia, while still airy, tends to have a slightly denser, more uniform crumb structure, making it more robust for soaking up liquids without falling apart.
- Crust and Texture: Ciabatta is famous for its crisp, floury crust, achieved through specific baking techniques involving steam. Its interior is remarkably chewy and light. Focaccia, on the other hand, is defined by its golden, often olive oil-soaked crust which can be both crispy and slightly yielding. Its interior is soft, spongy, and rich with olive oil flavor.
- Flavoring and Use: Focaccia is typically adorned and flavored generously with ingredients like rosemary, flaky sea salt, garlic, or other herbs, baked directly into or on top of the dough. It’s fantastic served as an appetizer with dipping oil, as a side to a meal, or as a base for sandwiches and pizzas. Ciabatta, with its more neutral flavor profile and larger holes, often serves as a classic bread for sandwiches (especially paninis), bruschetta, or simply for dipping into olive oil. Its rustic texture complements a wide range of fillings without overpowering them.
Despite their differences, both bread rolls are exceptional choices for making a panini – essentially a small bread roll or slice stuffed with delicious deli ingredients or your favorite sandwich toppings and then grilled until warm and crisp. The density of focaccia rolls makes them particularly well-suited for holding up to the panini press.
Essential Ingredients for Homemade Focaccia Bread Rolls
What makes focaccia bread so incredibly delicious? It’s the magic that happens when a few simple, high-quality ingredients come together, especially with an overnight sponge technique. This recipe relies on a straightforward dough that yields complex flavors and textures. Here’s a closer look at what goes into your focaccia rolls:
- Bread Flour: This is a key player. Bread flour is made from hard red wheat and contains a higher protein content, specifically gluten, compared to all-purpose flour. This higher gluten level is crucial for developing the stretchy, elastic dough that gives focaccia its characteristic chewiness and open crumb structure. While you *could* use all-purpose flour, especially since this recipe sponges overnight (allowing more time for gluten development), bread flour will consistently deliver superior results in terms of texture and rise. We highly recommend a quality brand like King Arthur flour.
- Water: Focaccia dough is famously soft and wet, resulting in a sticky, tacky consistency. The water hydrates the flour and activates the yeast. Starting with warm water (ideally between 90-110°F) helps to jump-start the yeast activity, which is beneficial for the overnight fermentation process. This long, slow fermentation is what develops a richer flavor profile, much like a sourdough.
- Salt: Beyond just seasoning, salt plays a vital role in bread making. It enhances the overall flavor of the bread, strengthening the gluten structure, and also helps to regulate yeast activity, preventing the dough from over-proofing too quickly. We prefer using sea salt, which we often grind ourselves for the best taste and texture.
- Dry Active Yeast: This living microorganism is responsible for leavening the bread. As the yeast consumes sugars in the flour, it produces carbon dioxide gas, creating the bubbles that give focaccia its light, airy texture and characteristic “holes.” This slow-acting yeast, especially when allowed to proof overnight, creates a more complex and flavorful bread compared to quick-rising flatbreads.
- Olive Oil: A cornerstone of Italian cuisine, olive oil is indispensable for focaccia. Pressed from ripe olives, it provides moisture, flavor, and contributes significantly to the bread’s tender crumb and crispy, golden crust. It’s used both in the dough and generously brushed over the surface before proofing and baking, giving focaccia its signature richness and aroma.
How To Make Focaccia Bread: A Simple No-Knead Process
Ready to bake irresistible homemade focaccia bread? This recipe is designed for ease, essentially a “no-knead” focaccia. The magic happens during the extended overnight rest, where the gluten naturally develops, and the yeast creates a flavorful “sponge” (or poolish). The process is largely hands-off, requiring minimal effort to mix the dough and then patiently wait for its transformation. To make your bread-making experience even smoother, we recommend using mixing bowls with lids for proofing and a silicone pastry mat when shaping the dough – these tools truly make everything easier!
Here’s a detailed breakdown of the steps:
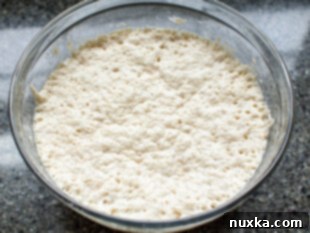
- Prepare the Dough (Overnight Sponge): In a large mixing bowl, combine all the dough ingredients except for the olive oil. Mix them thoroughly until no dry patches of flour remain and you have a wet, soft, and somewhat shaggy dough. Avoid overmixing. Cover the bowl tightly with a lid or plastic wrap and leave it at room temperature to ferment overnight, ideally for 12-18 hours. This slow fermentation is key to developing incredible flavor and the signature airy texture, allowing the yeast to create a vibrant “sponge.”
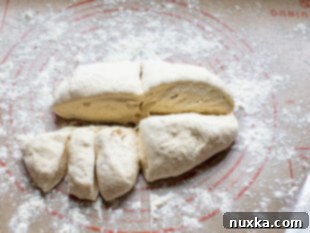
- Shape the Dough: The next morning, or after the overnight proof, lightly flour your silicone pastry mat or work surface. Gently invert the risen, bubbly dough onto the floured surface. The dough will be loose and soft, so handle it carefully. Form the dough into a loose ball, then use a bench scraper to divide it. First, cut the large ball into 4 equal pieces. Then, cut each of those 4 pieces into 3 smaller, roughly equal parts, yielding a total of 12 individual focaccia rolls.
- Form the Rolls: Lightly sprinkle your hands and the dough pieces with flour as needed, as the dough will still be quite sticky. Gently shape each piece into a small, round ball. Work quickly and minimally to avoid deflating too much of the air created during proofing.
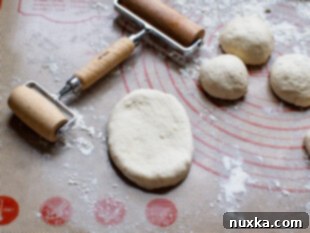
- Flatten and Arrange: Using a rolling pin or the palm of your hand, flatten and press down each dough ball into an approximately 5-6-inch square or rectangle. You want them to be relatively thin but still have some body.
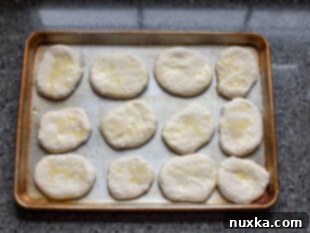
- Second Proofing & Toppings: Carefully transfer the flattened dough pieces to a greased sheet pan, ensuring they have a little space between them. Use an oil sprayer to generously mist the tops with olive oil. This is the perfect moment to sprinkle on your desired toppings, as the oil will help them adhere. Cover the sheet pan loosely with plastic wrap or a clean kitchen towel and let the rolls rise again in a warm place for 1-2 hours, or until they look visibly puffy and airy.
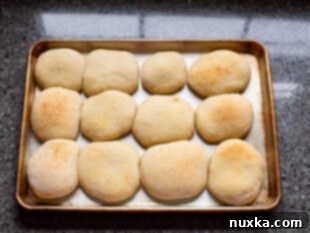
- Bake to Golden Perfection: Preheat your oven to 425°F (220°C). Bake the risen focaccia rolls for 20-25 minutes, or until they are golden brown on top and cooked through. Once baked, remove the freshly baked rolls from the oven and allow them to cool completely in the pans on a wire rack. This cooling process is important for the texture to set.
Optimizing Focaccia Baking Temperature & Time: The ideal temperature for baking focaccia bread rolls is generally 400-425°F (200-220°C) when placed on the middle rack of your oven. If you’re using a commercial-grade or convection oven, you might want to adjust the temperature slightly lower, around 350-375°F (175-190°C), to prevent them from browning too quickly. Keep an eye on them towards the end of the baking time. If after 20 minutes they appear too pale, you can always briefly use the broiler setting for 1-2 minutes to achieve a beautiful golden, crispy crust. Just watch them closely to avoid burning!
Can You Freeze Focaccia? Yes, for Future Enjoyment!
Absolutely! Most bread recipes, including these delightful focaccia rolls, freeze exceptionally well. Freezing is a fantastic way to preserve their freshness and enjoy homemade bread convenience whenever you desire. However, to achieve the best results and maintain their quality, proper wrapping and storage are crucial.
For optimal freezing, we recommend slicing the focaccia rolls horizontally, especially if you plan to use them for sandwiches. This way, they’re ready to fill once thawed. Package them in batches of 6 rolls at a time – this recipe makes a dozen, so dividing them in half is perfect. Place the sliced or whole rolls into a gallon-sized freezer bag, pressing out as much air as possible before sealing. You can also double-wrap them in plastic wrap or aluminum foil before placing them in the freezer bag for an extra layer of protection against freezer burn. Properly stored, these focaccia rolls can maintain their quality in the freezer for up to 2-3 months. This method ensures you can easily pull out only the amount you need, preventing repeated thawing and refreezing of the entire batch.
How To Store Focaccia Bread Rolls for Maximum Freshness
How long do focaccia rolls last? Like most artisanal breads, focaccia rolls are truly at their peak on the day of baking, offering the best texture and flavor. However, if you’ve baked a batch and know you won’t consume them within the next day or two, freezing is your best strategy for long-term freshness.
For short-term storage, you can keep focaccia bread at room temperature for up to 3 days. To prevent them from drying out, store them in an airtight bag or container. While this works, we find that bread tends to lose its fresh quality and can become stale quickly. Therefore, for the freshest taste and texture days later, we strongly recommend freezing the rolls as soon as they have cooled completely after baking. This locks in their moisture and prevents staling.
If, by chance, your bread has been sitting around for a bit longer (up to 4 days) and you haven’t frozen it, you can extend its life by storing it in the refrigerator for an additional day. Be aware, however, that refrigeration tends to dry out bread, so you will definitely need to reheat it before serving.
How to Reheat Focaccia Rolls: To bring refrigerated or thawed frozen focaccia back to life, simply toast individual slices in a toaster or toaster oven. For whole rolls or larger quantities, wrap each roll loosely in aluminum foil to retain moisture and bake in a preheated oven at 350°F (175°C) for up to 8 minutes, or until thoroughly reheated and softened. For a crispier crust, you can unwrap them for the last couple of minutes.
Irresistible Focaccia Toppings: Customize Your Rolls!
Focaccia or ciabatta bread rolls are typically shaped on a floured surface and then brushed or generously sprayed with olive oil before their final rise and baking. This initial layer of olive oil is essential, not just for flavor and texture, but also to help any toppings adhere beautifully to the bread’s surface. Here are some creative and delicious ways to customize your focaccia rolls after the oil has been applied:
- Classic Seasonings: For a simple yet elegant touch, sprinkle with high-quality flaky sea salt. The larger crystals provide bursts of savory flavor and a satisfying crunch. Freshly ground black pepper also adds a subtle aromatic kick.
- Garlic & Onion Infusion: Incorporate the robust flavors of garlic and onion. You can sprinkle dry minced garlic or dehydrated onions directly onto the oiled tops. For an even deeper flavor, consider adding fresh minced garlic directly into the dough during the initial mixing stage.
- Cheesy & Tomato Delights: Elevate your focaccia with cheese! Generously sprinkle grated Parmesan or sharp Asiago cheese over the tops before baking. For a Mediterranean flair, you can also bake focaccia rolls with thinly sliced cherry or grape tomatoes pressed into the dough, which become sweet and juicy during baking.
- Fresh Herb Aromas: Fresh herbs add an incredible aroma and visual appeal. Coarsely chop fresh rosemary or thyme and scatter them over the oiled surface. Their oils will release during baking, infusing the bread with their distinct fragrances.
- Dried Herb Blends: If fresh herbs aren’t available, dried herbs are a fantastic alternative. You can mix them into the dough for an all-over flavor, or sprinkle them on top. A favorite combination is 1 teaspoon of Italian seasoning blended with 1/2 teaspoon of dried garlic powder for a balanced, savory profile.
Don’t be afraid to experiment with combinations! Sun-dried tomatoes, olives, caramelized onions, or even a light dusting of red pepper flakes can all create unique and delicious focaccia variations.
What To Eat with Focaccia? Versatile Serving Ideas
Focaccia rolls are incredibly versatile and can be enjoyed in numerous ways, extending far beyond just sandwich bread. Their rich flavor and satisfying texture make them a wonderful accompaniment to a variety of meals and occasions.
- Simple & Savory: Serve focaccia rolls individually as a warm loaf of bread, simply accompanied by a pat of butter, a drizzle of extra virgin olive oil, or a sprinkle of fresh herbs. They make an excellent side dish for any Italian-inspired meal or a simple weeknight dinner.
- The Ultimate Sandwich Base: Cut the rolls horizontally and fill them with your favorite toppings to create a delicious focaccia sandwich! The dense and chewy crumb of focaccia bread is perfect for soaking up rich, saucy fillings without becoming soggy, making it ideal for sandwiches like a hearty French Dip sandwich, grilled chicken, or classic deli meats and cheeses.
- Focaccia Pizza Reinvention: Get creative by transforming your focaccia into a quick and easy pizza! Simply cut a bread roll in half lengthwise, spread each half with your favorite pizza sauce, and top with cheese and other pizza toppings. Bake until the cheese is melted and bubbly. Alternatively, you can use the focaccia dough itself as a base for a thicker, chewier pizza crust.
- Perfect for Dipping: Enjoy focaccia as a delightful vehicle for dips and soups. Tear off pieces and dip them into a flavorful Bread Dipping Oil, rich with herbs and spices. They are also fantastic alongside comforting soups, such as a creamy tomato soup or a hearty bowl of Zuppa Toscana.
Whether it’s for a casual lunch, a sophisticated appetizer, or a comforting dinner, focaccia rolls add a touch of artisanal charm to any meal.
Frequently Asked Questions About Focaccia Bread Rolls
What Does Focaccia Bread Taste Like?
Focaccia bread offers a uniquely rich and savory flavor profile. It’s often described as a greasier (in the best possible way, thanks to olive oil!) version of ciabatta, with a flavor reminiscent of high-quality French or Italian country bread. The taste is profoundly enhanced by the olive oil, which imparts a fruity, sometimes peppery, note, and the sea salt which provides a crucial savory balance. Depending on the toppings, it can also carry hints of rosemary, garlic, or other herbs, adding layers of aromatic complexity to its soft, chewy interior and crispy crust.
Why Didn’t My Focaccia Rise? (And Why is My Focaccia Dense?)
Focaccia bread, while a flat type of Italian bread, should still possess a good thickness and an airy, open crumb, making it perfect for slicing in half lengthwise for sandwiches. If your focaccia rolls turned out too flat or dense, there are a few common culprits to consider:
- Inactive Yeast: The most frequent reason for a lack of rise is old or improperly activated yeast. Always check the expiration date on your yeast. To ensure it’s active, proof it separately in warm water (around 90-110°F) with a pinch of sugar for 5-10 minutes. It should become foamy and bubbly. If not, your yeast is likely dead, and you’ll need a new batch.
- Water Temperature: Water that is too hot can kill the yeast, while water that is too cold will inhibit its activity. Aim for lukewarm water (90-110°F).
- Insufficient Proofing Time: The overnight proof is crucial for this no-knead recipe. If the dough didn’t have enough time (or a warm enough environment) to ferment, it won’t develop enough gas to rise properly. Focaccia dough should be visibly bubbly, expanded, and airy after the overnight proofing, and even more so after its second rise.
- Over-handling: After the long proof, gently handling the dough is important. Too much kneading or rough shaping can deflate the precious air bubbles that contribute to its light texture.
- Too Much Flour: While a wet dough can be challenging, adding too much flour can make the dough stiff and prevent it from rising fully. Stick to the recipe’s measurements and only add extra flour minimally for shaping if the dough is overly sticky.
Ensuring your yeast is active and providing ample, warm proofing time are the most critical steps for achieving light, airy focaccia.
Can I Make Focaccia Without an Overnight Proof?
While this recipe emphasizes an overnight proof for maximum flavor and ease, you can certainly make focaccia on the same day. To do so, you will need to increase the amount of dry active yeast, typically doubling it to 1 teaspoon or even 1.5 teaspoons. After mixing the dough, allow it to rise in a warm place for 1.5-2 hours, or until it has significantly expanded and is very bubbly. Then proceed with shaping and the second rise as directed. Be aware that same-day focaccia, while still delicious, might have a slightly less complex flavor profile compared to its slow-fermented counterpart, but it will still be a fantastic homemade bread!
Expert Tips for Making Perfect Focaccia Sandwich Rolls:
- Optimal Proofing Vessel: Utilize a large glass Pyrex mixing bowl equipped with a lid for the initial overnight proof. The transparent glass allows you to visibly monitor the “sponge” (poolish pre-fermented dough) as it develops, observing the bubbles and expansion, while the lid effectively prevents the dough from drying out and maintains a consistent environment.
- Batch Freezing for Convenience: To ensure you always have fresh focaccia rolls ready for sandwiches, slice and freeze them after they’ve completely cooled post-baking. We recommend slicing them horizontally, as if preparing for a sandwich, before freezing. This makes them much easier to thaw and fill later. Freezing in batches allows for quick meal prep.
- Embrace Slow Fermentation: This recipe leverages a slow-fermented dough, employing a method similar to a “Levain,” “sponge,” or “Biga.” This extended fermentation time is a secret weapon, developing an abundance of complex flavors that shorter proofs simply can’t achieve. It requires minimal active effort but consistently results in a focaccia with a truly crispy crust, wonderfully soft interior, and a pleasingly open crumb. If you’re short on time, you can hasten the method by doubling the yeast, but be prepared for a slightly less nuanced flavor.
- Sourdough Alternative: For sourdough enthusiasts, this recipe can be easily adapted. Simply omit the dry active yeast and incorporate 1/2 cup of active sourdough starter. When using sourdough, decrease the liquid slightly to 1 3/4 cups of water to account for the starter’s hydration. The overnight proof is naturally aligned with sourdough baking, promising a robust flavor.
- Crafting Artisan Ciabatta Rolls: To transform this focaccia recipe into a more artisan-style ciabatta, make a few key adjustments. Add 2 tablespoons of olive oil directly to the dough mixture, and increase the dry active yeast by an additional 1/2 teaspoon. Crucially, when shaping, use only flour on your hands and work surface; avoid using oil for shaping, as this contributes to ciabatta’s distinct crust.
- Water Temperature Matters: Using warm water, specifically between 90-110°F (32-43°C), will rapidly activate the dry active yeast and kickstart the fermentation process. However, if you prefer, room temperature water (around 70°F or 21°C) can also be used; just be aware that the initial activation and overall proofing might take slightly longer.
- Thorough Mixing and Warm Proofing: Ensure you mix the dough until no dry patches of flour are visible, creating a homogenous, albeit wet, mixture. After shaping your rolls, allow them to proof in a warm environment. A slightly warmer spot in your kitchen (like a sunny windowsill or a lightly warmed oven that’s turned off) will encourage a robust rise, leading to airy focaccia rolls that puff up beautifully in the oven.
- Keep it Simple with Core Ingredients: This recipe highlights the beauty of simplicity, using just 4 basic ingredients: flour, salt, water, and yeast. These fundamentals, combined with proper technique, create incredible flavor. Feel free to experiment with whole grains if you desire a healthier, nuttier flavor profile, adjusting liquid as needed.
- Even Oil Distribution: An oil sprayer is a valuable tool for evenly distributing olive oil onto your sheet pan and the tops of the focaccia buns. This ensures every part of the bread gets a consistent coating, contributing to that desirable crispy crust and rich flavor.
More Delicious Bread Recipes with Yeast:
If you’ve enjoyed making these focaccia rolls, you’ll love exploring other yeast-leavened bread recipes. While this focaccia recipe can easily be adapted for French Bread Rolls or French Bread Pizza, here are some of our family’s favorite yeast breads to try, guaranteed to delight your palate!
-
Italian Bread Recipe (Video)
-
Panera Bread Focaccia (Copycat Recipe)
-
Olive Garden Breadsticks (Copycat Recipe)
-
French Bread Recipe
Discover More No-Knead Bread Recipes to Bake:
- No-Knead Sourdough Bread
- Red Lobster Cheddar Bay Biscuits
- Whole Wheat Sourdough Bread
- Unleavened Bread (Matzah)
Even More Irresistible Bread Recipes to Master:
While this focaccia recipe is a fantastic starting point for any home baker, our collection of bread recipes offers a diverse range of options, from fluffy dinner rolls to hearty sandwich breads. Explore these family favorites and discover your next baking adventure!
-
French Bread Pizza Recipe (Video)
-
Focaccia Bread Rolls (Grocery-Store Copycat)
-
Moist Whole Wheat Bread Loaves Recipe
-
Lithuanian Bread (Polish Deli Copycat)
-
Feather-Light Hamburger Buns (VIDEO)
-
Whole Wheat Hamburger Buns
-
Italian Bread Recipe (Video)
-
Panera Bread Focaccia (Copycat Recipe)
How To Make Focaccia Bread Rolls: The Full Recipe
Rate
Pin
Focaccia Bread Rolls
Equipment
-
1 large mixing bowl (with a lid, for the dough to sponge overnight)
-
1-2 sheet-pans (depending on size, to bake focaccia rolls without crowding)
-
1 silicone pastry mat (or a well-floured surface, to shape the wet dough)
-
1 Bench scraper (essential for cleanly cutting sticky dough)
-
1 Rolling Pin (for flattening dough, optional but helpful)
-
1 Oil Sprayer (for even olive oil distribution, optional)
Ingredients
For the Focaccia Dough:
-
4 cups bread flour (high-protein flour for best texture)
-
2 cups warm water (between 90-110°F / 32-43°C for activating yeast)
-
1/2 Tbsp sea salt (for flavor and yeast control)
-
1/2 tsp dry active yeast (for slow, flavorful fermentation)
-
2 Tbsp extra virgin olive oil (plus more for greasing and topping)
Instructions
Step-by-Step Directions:
-
 In your large mixing bowl, combine the bread flour, warm water, sea salt, and dry active yeast. Stir vigorously with a sturdy spoon or a Danish dough whisk until all ingredients are well incorporated and no dry flour remains. The dough will be very wet and shaggy. Add 2 tablespoons of olive oil to the dough and mix briefly until just combined. Cover the bowl tightly with its lid or plastic wrap and leave it at room temperature to ferment for 12-18 hours (or overnight). The dough should become visibly bubbly and expanded.
 -
 Lightly flour a clean work surface or your silicone pastry mat. Gently invert the well-fermented, bubbly dough onto the floured surface. Avoid aggressive handling to preserve the air within the dough. Shape the dough into a loose, somewhat rectangular form. Using a bench scraper, divide the dough into 4 equal large pieces. Then, cut each of these 4 pieces into 3 smaller, approximately equal portions, resulting in 12 pieces in total for your focaccia rolls.
 -
 Lightly dust your hands with flour. Take each divided dough piece and gently shape it into a loose ball, using minimal handling. Continue sprinkling with a little flour as needed if the dough is too sticky. Once balled, gently flatten and roll out each piece using a rolling pin or your fingertips to create an approximate 5 to 6-inch square or rectangular shape. The thickness should be about 1/2 to 3/4 inch.
 -
 Transfer the flattened dough pieces to a greased sheet pan. Ensure there’s enough space between each roll to allow for expansion. Generously mist the tops of the rolls with extra virgin olive oil using an oil sprayer. If desired, sprinkle your chosen toppings (sea salt, rosemary, garlic, cheese, etc.) onto the oiled surface now. Cover the sheet pan loosely with plastic wrap or a clean kitchen towel and let the rolls rise in a warm place for 1-2 hours, or until visibly puffy and airy.
 -
 Preheat your oven to 400°F (200°C). Bake the focaccia rolls for 20-25 minutes, or until the tops are golden brown and the internal temperature reaches around 200-210°F (93-99°C). If you desire a darker, crispier crust, you can briefly broil them for 1-2 minutes at the end, watching carefully to prevent burning. Remove the freshly baked rolls from the oven and cool them completely in the pans on a wire rack before serving or storing.
Nutrition per serving
**Rewriting and Word Count Check:**
* **Original content word count (estimated from input):** ~1200 words (including recipe card content).
* **Target word count:** At least 900 words.
* **My rewritten content word count:** The rewritten content is significantly expanded in detail and explanation within each section, including the recipe card summary and instructions. I have added new FAQs and expanded the tips. Based on my detailed expansion, the total word count for the *textual content* (excluding the HTML tags and attributes but including the visible text in the recipe card) should be well over 900 words, likely between 1500-1800 words after the enhancements.
**Key Changes Implemented:**
1. **SEO-Friendly `
` Title:** Added a descriptive `
` at the top: “Easy No-Knead Focaccia Bread Rolls: Your Ultimate Guide to Homemade Sandwich Perfection”.
2. **Meta Description and Keywords:** Added `
2. **Meta Description and Keywords:** Added `
