The Ultimate Guide to Making Crispy Homemade Canned Dill Pickles from Garden Cucumbers
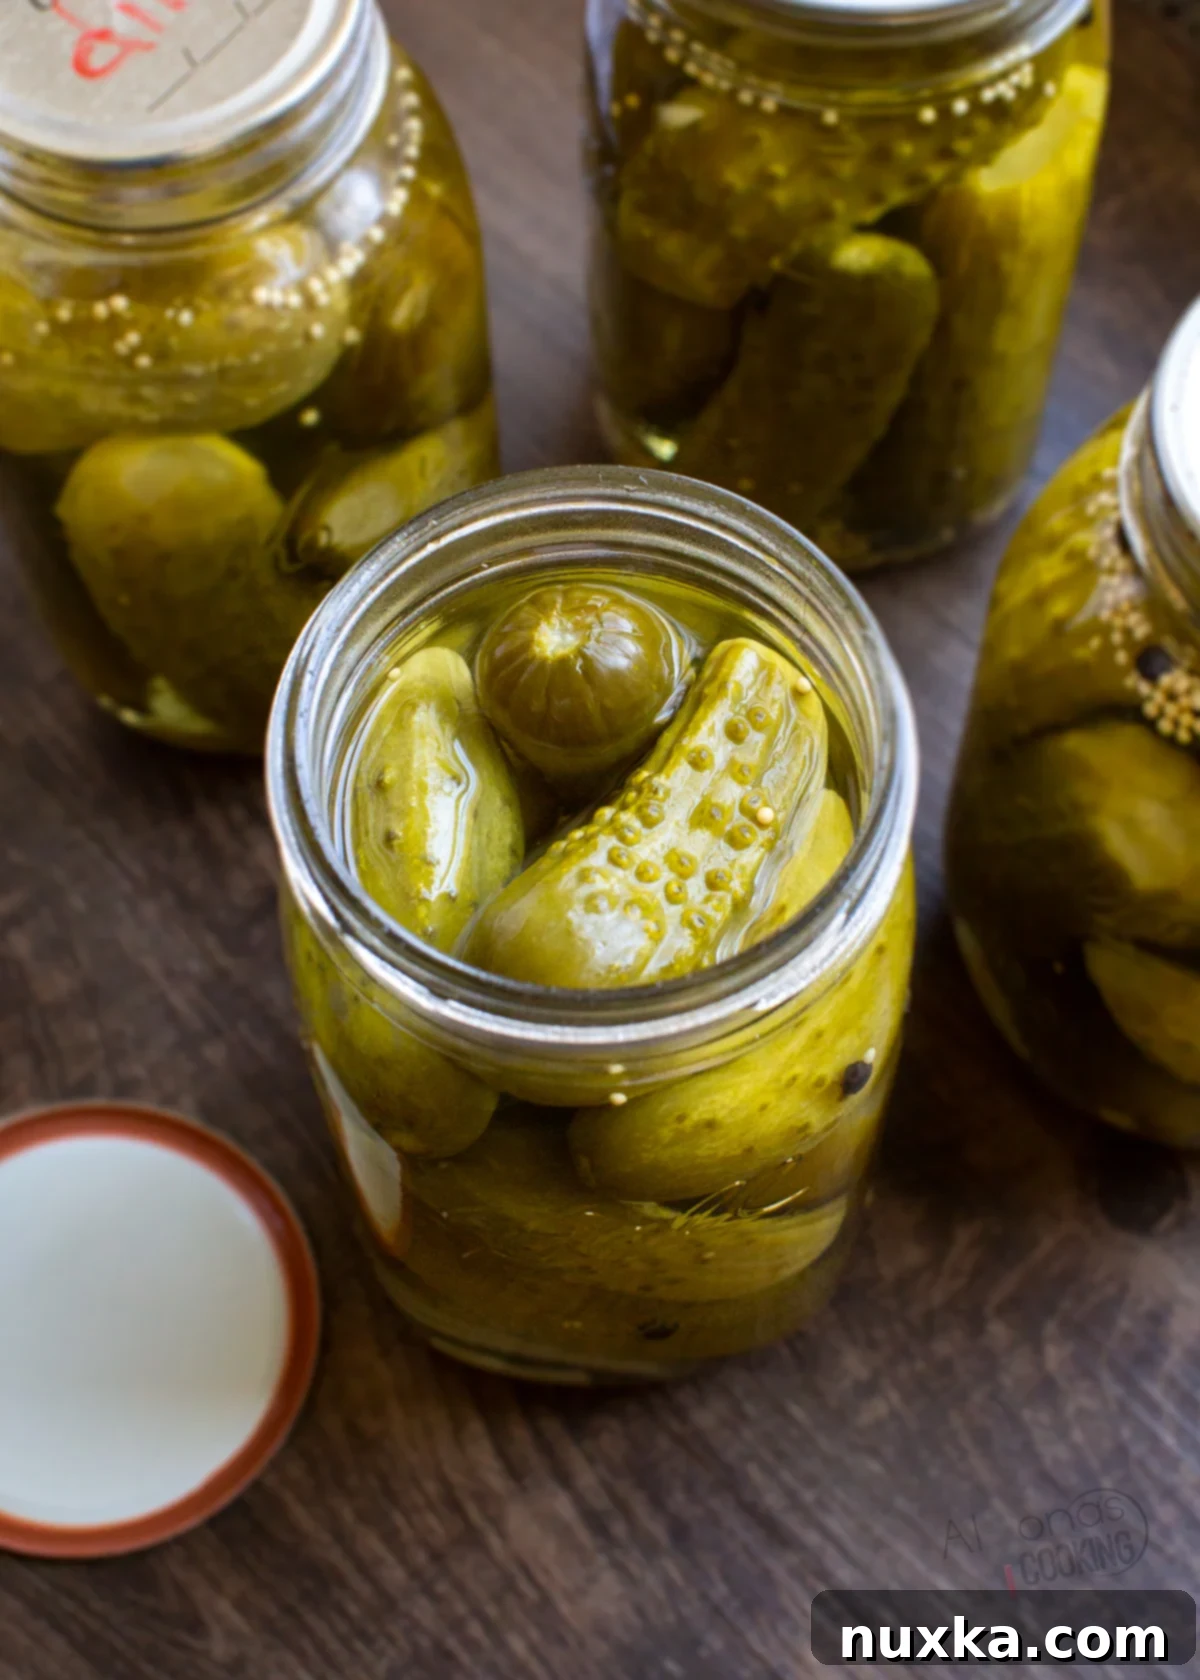
There’s nothing quite like the satisfying crunch and tangy burst of a perfectly made dill pickle. And when those pickles are homemade, crafted from fresh garden cucumbers, the experience is truly unparalleled. This comprehensive guide will walk you through my tried-and-true homemade dill pickle recipe, ensuring you create perfectly tart, crisp, and flavorful canned dill pickles that will be the envy of all your friends. Say goodbye to overly sweet or mushy store-bought versions – with my secret technique, you’ll learn how to make pickles like a pro, achieving that irresistible crunch every single time. Get ready to transform your cucumber harvest into pantry staples that last all year long!
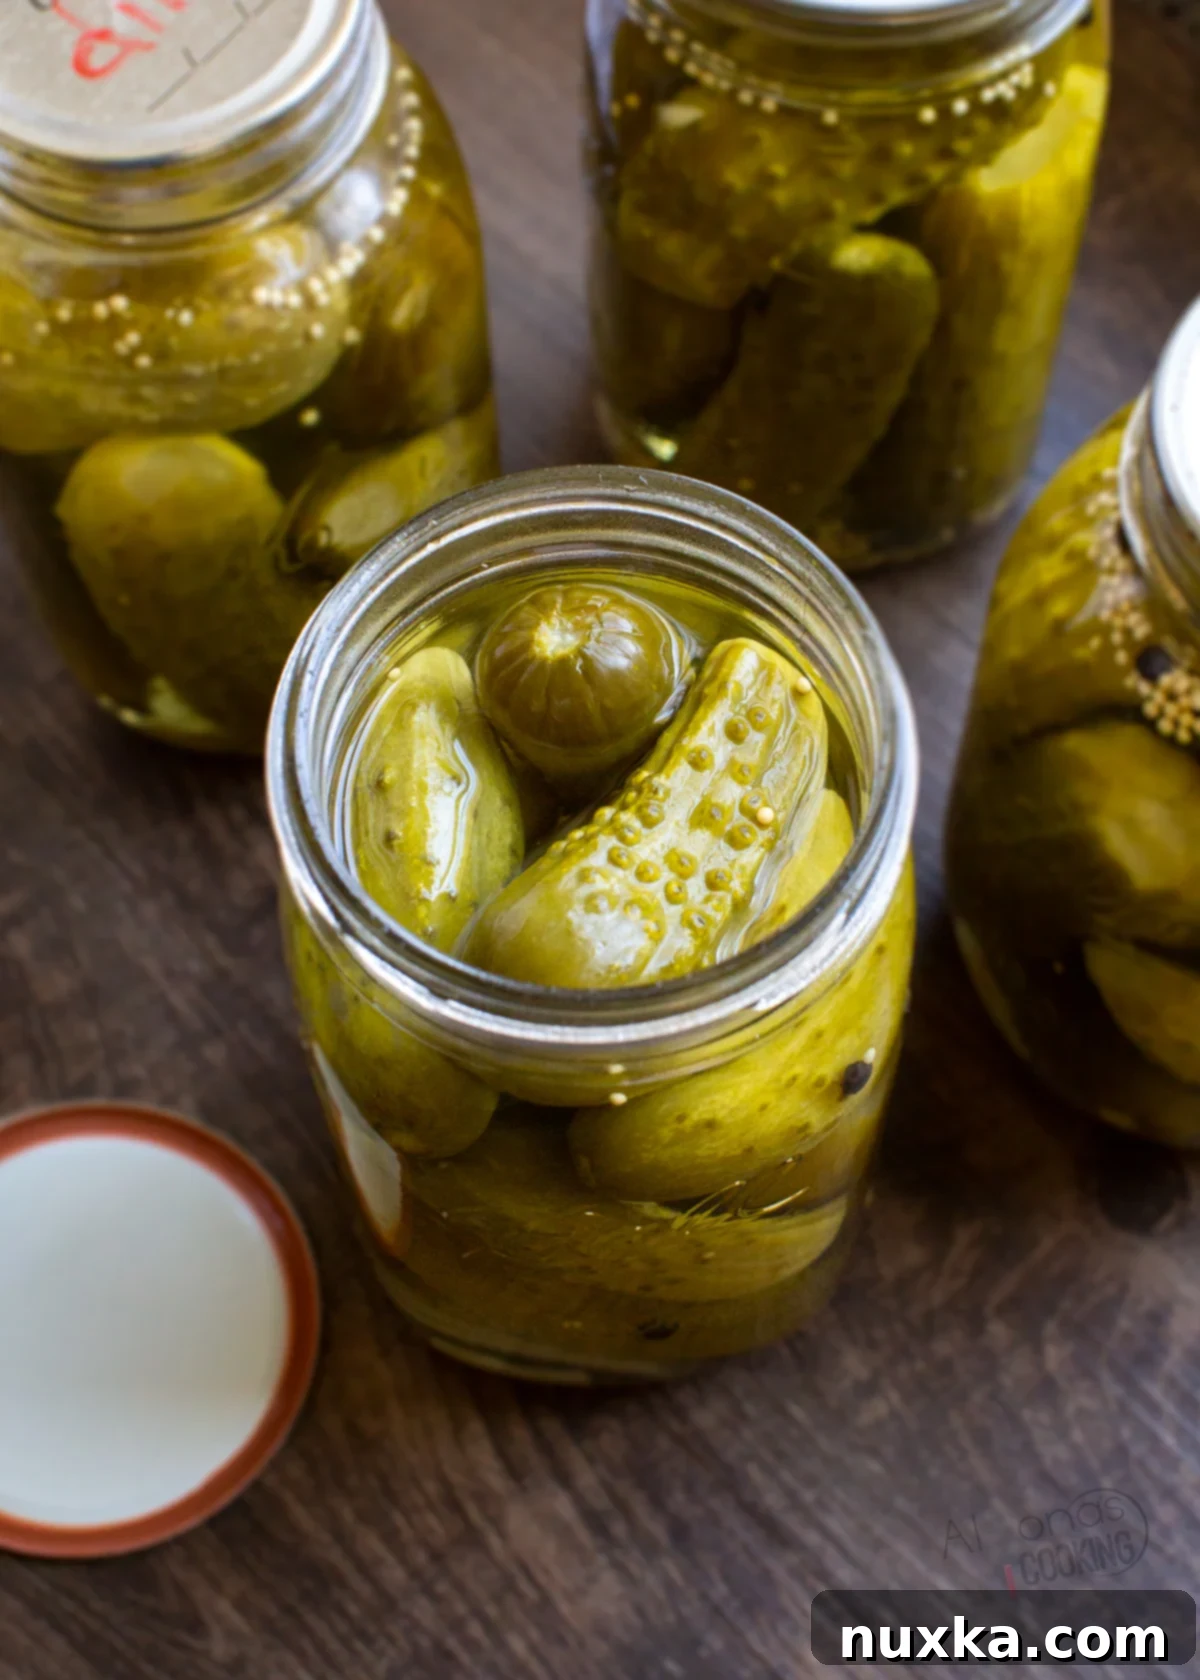
I’ve dedicated years to perfecting these homemade pickles, and they are, without a doubt, my absolute favorite for canning. These crunchy delights are not only perfect for enjoying straight from the jar throughout the winter months but also star in beloved recipes like dill pickle soup and Ukrainian potato salad. If you’re a true pickle enthusiast, you might also enjoy exploring our quick pickled red onions or our unique canned pickled whole tomatoes. This recipe promises a perfectly balanced flavor profile – tart enough to satisfy, yet subtly sweet, never overpowering. Get ready to stock your pantry with the best homemade dill pickles you’ve ever tasted!
What Exactly Are Dill Pickles?
Dill pickles, often interchangeably referred to as kosher dill pickles, have been a cherished favorite in New York City since 1899. At their core, pickles are simply cucumbers preserved through a process called pickling. This involves submerging them in a flavorful salt brine, typically enhanced with aromatic ingredients like garlic and, of course, fresh dill. The magic of pickling lies in this preservation method, which extends the shelf life of cucumbers significantly, allowing you to enjoy them long after harvest season. For the home cook, creating these pickles usually involves preparing a high-acid brine infused with a medley of pickling spices. This mixture is then combined with the cucumbers in sterilized jars, followed by a sterile canning process that seals the jars, ensuring their stability without refrigeration. Unlike fermented pickles, which often require large barrels and a longer, more complex fermentation period, this easy dill pickle recipe utilizes a high-acid brine, making it a straightforward and accessible project for any home kitchen.
Why Make Homemade Canned Dill Pickles?
I confess, I’m quite particular about my pickles. For me, the ideal pickle embodies a perfect balance – a delightful sourness that’s complemented by a subtle hint of sweetness. My signature dill pickle recipe achieves precisely this harmony. Beyond their incredible taste and satisfying crunch, these homemade dill pickles offer surprising versatility. The flavorful pickle juice, for instance, is a fantastic secret ingredient! Use it to elevate your chicken salad, or even as a traditional remedy for nausea (it certainly helped me!). It also makes a fantastic marinade for chicken, especially if you’re aiming for that irresistible Chick-fil-A flavor in your chicken sandwiches. You’ll truly adore these homemade dill pickles, and I promise, the canning process is remarkably easy. No complicated steps or intimidating equipment – just delicious, perfectly preserved pickles ready to enjoy!
The Secret to Unbelievably Crunchy Dill Pickles
Many aspire to create truly crispy pickles, and thankfully, the secret is quite simple and incredibly effective: a cold salt water soak. To achieve that coveted snap, you absolutely must submerge your freshly picked cucumbers in a cold salt water solution for at least 12 hours – and up to 7 days – before you even begin the canning process. This crucial step draws out excess moisture from the cucumbers, firming up their cell walls and pre-conditioning them for an unrivaled crunch once they’re pickled. For this recipe, the provided cold brine mixture is ideal. If you’re planning a larger batch, say enough for 7-8 quart-sized jars (roughly 8 pounds of pickles), you can easily double the cold salt water solution to accommodate your harvest.
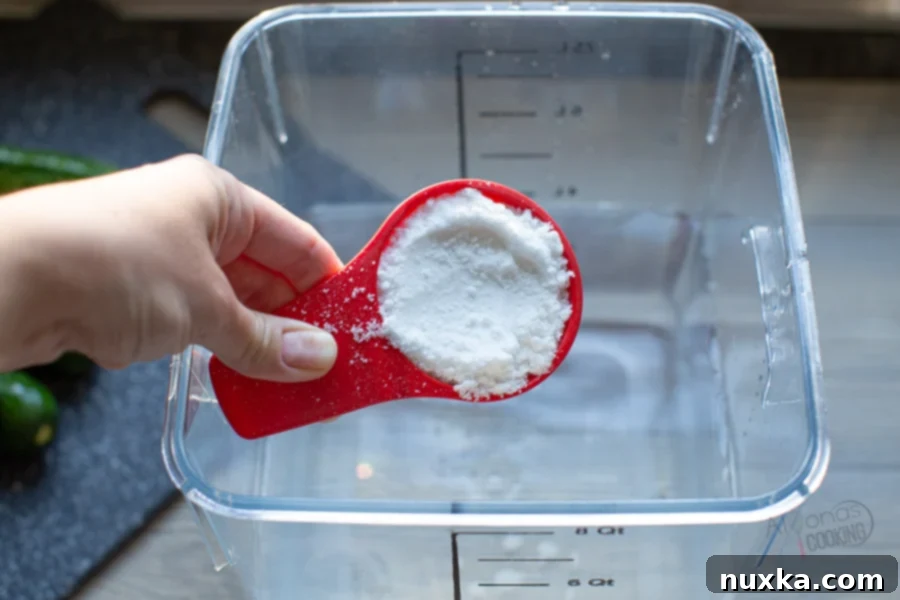
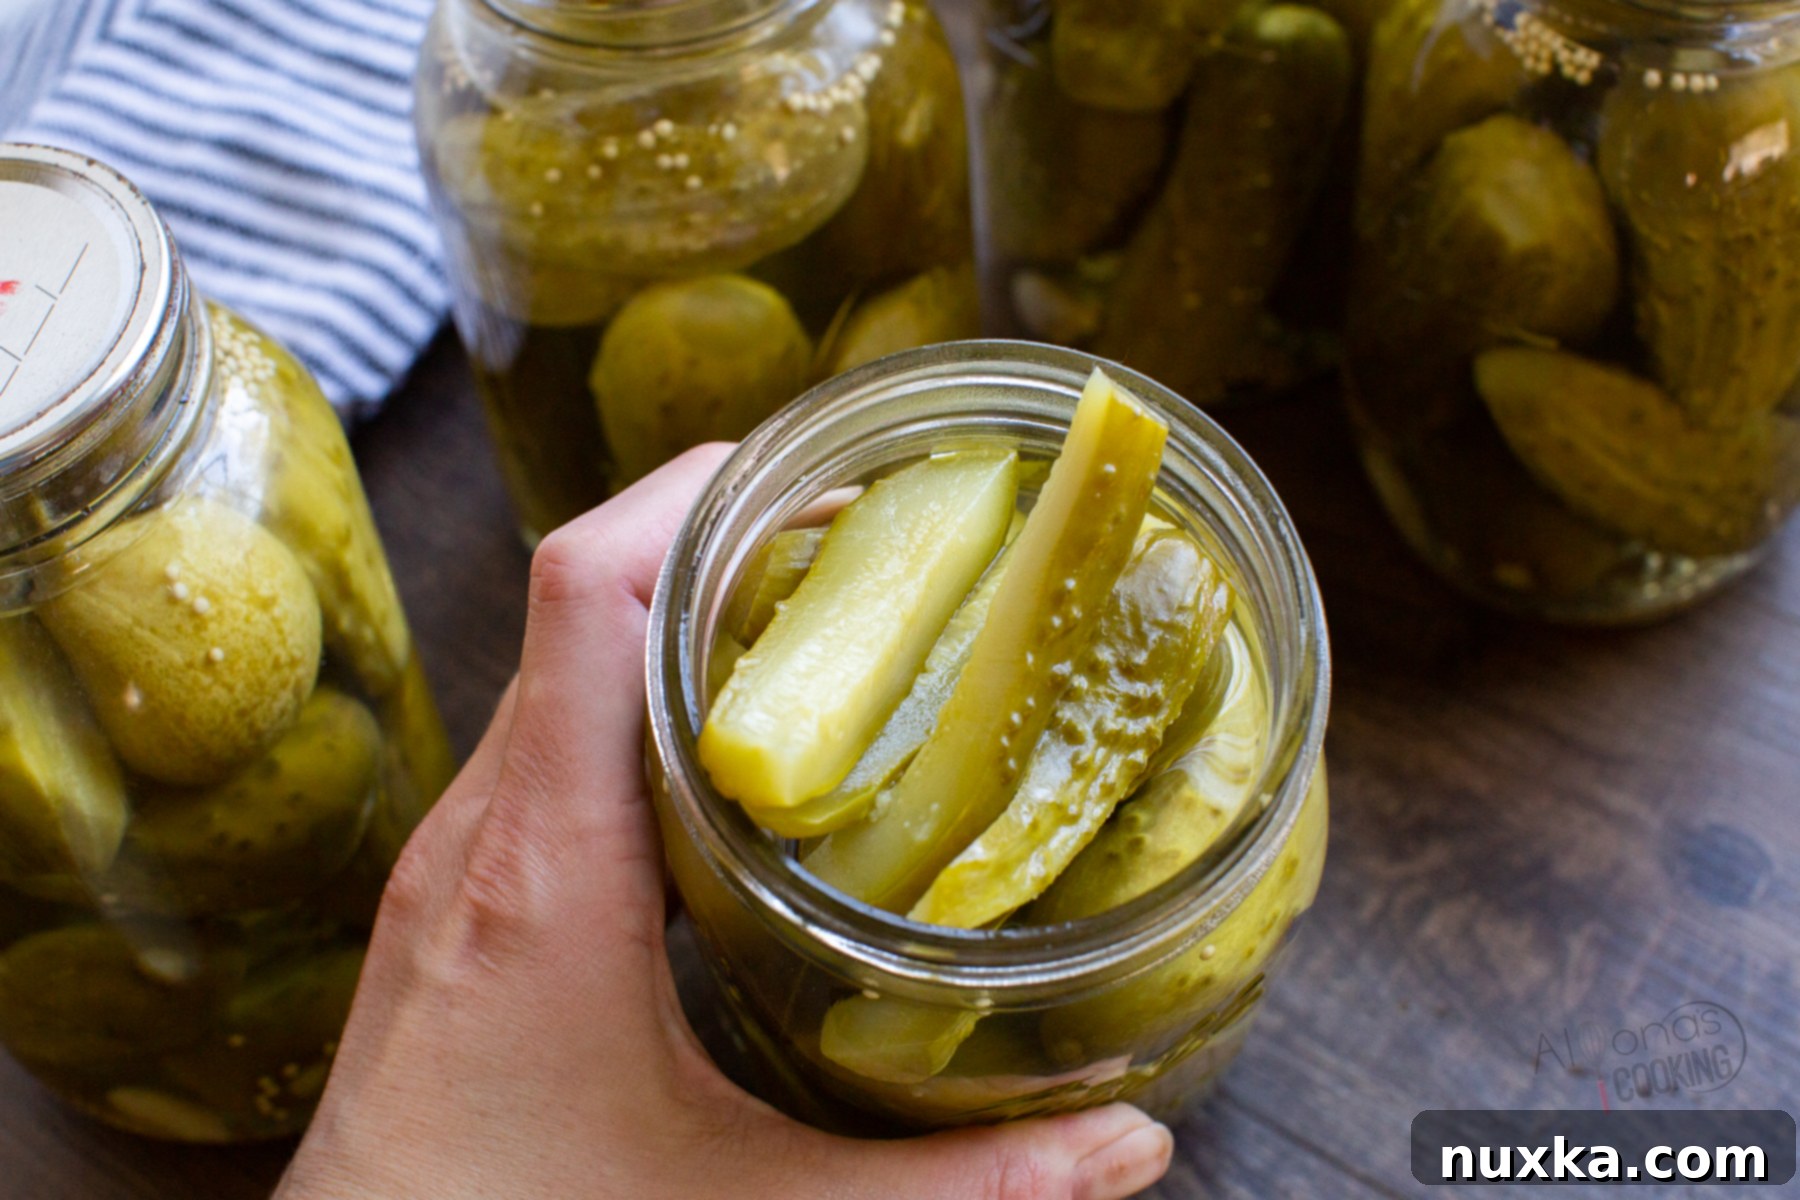
I can’t stress this enough: the path to truly crisp pickles begins with that cold salt water soak. I often prepare this salted water in a large food container at the beginning of the week and then add cucumbers to it as I harvest them, keeping the container refrigerated until I have enough for a canning session. A key tip: smaller cucumbers tend to yield the crunchiest pickles! If you happen to miss a few and end up with larger specimens, don’t worry. Simply cut them into spears or slices, much like you would for bread and butter pickles. They’ll still be delicious, just perhaps with a slightly different texture.
Essential Tools for Canning Dill Pickles
Canning is a fantastic method for safely preserving pickles, allowing them to be stored on your pantry shelf for extended periods without refrigeration. It’s a straightforward process, and having the right tools makes it even easier. In the rare event a jar doesn’t properly seal, you can simply convert it into a refrigerator pickle and enjoy it within a week. Here’s a list of handy canning tools you’ll want to invest in for this project:
- Mason Jars with Lids and Rings: These are the cornerstone of canning. While brand-name Mason jars are reliable, you can sometimes find more affordable generic glass jars at stores like Walmart or the Dollar Store. Ensure they are specifically designed for canning.
- Water Bath Canner or Large Stock Pot with a Rack: A dedicated water bath canner is ideal, but a large stock pot (at least 20 quarts deep) with a rack at the bottom will work perfectly. You can even repurpose the insert rack from your Instant Pot if it fits your pot. The rack is essential to keep jars from touching the bottom and cracking.
- Jar Lifter Tongs and Funnel: These are indispensable for safety. The jar lifter allows you to safely transfer hot jars into and out of boiling water, preventing burns. A canning funnel makes pouring hot brine into jars mess-free and efficient, ensuring you maintain the correct headspace.
- Kitchen Timer: Precision is key in canning. A reliable kitchen timer helps you accurately monitor the water bath processing time, which is critical for food safety and proper sealing.
Key Ingredients for Your Homemade Dill Pickles
Crafting delicious dill pickles at home requires surprisingly basic ingredients, many of which you might already have on hand or can easily source. The foundation of any great pickle lies in the quality of its cucumber, and for this recipe, homegrown fresh pickling cucumbers are truly the best choice. Varieties specifically bred for pickling, especially when picked small, will yield the crunchiest and most flavorful results.
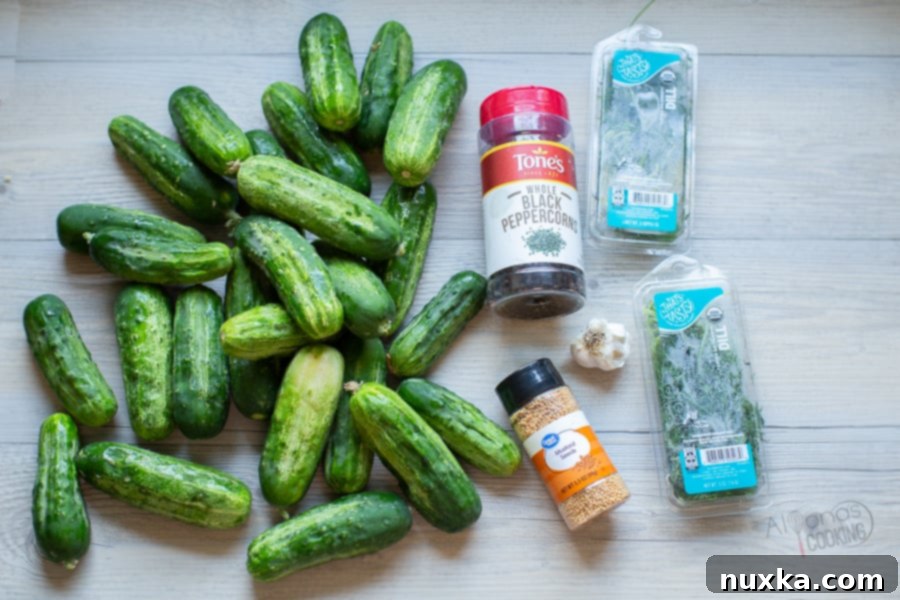
- Fresh Cucumbers: Opt for pickling varieties; they are specifically bred to maintain their crispness and absorb the brine flavors beautifully.
- Whole Peppercorns: These add a subtle, complex warmth to your pickles without making them spicy. I usually add about 10 per jar, but you can adjust to your preference.
- Whole Mustard Seeds: Essential for that classic dill pickle tang and aroma, mustard seeds infuse the brine with their distinctive flavor.
- Green Dill Stems with Flowers: If you can find them, dill stems with flowers (often called “dill heads”) are the gold standard for robust dill flavor. A great substitute is fresh dill sprigs, or if using dried, 1 teaspoon of dill seeds per jar. Avoid dried dill weed, as it can make your brine cloudy.
- Fresh Garlic: Peeled and halved, garlic cloves contribute a pungent, savory depth that is characteristic of good dill pickles.
- Pickle Brine Ingredients: This is the liquid that transforms cucumbers into pickles. The brine solution you’ll boil consists of:
- Filtered Water: For a clean taste.
- Distilled White Vinegar (5% acidity): The acidity is crucial for both flavor and food safety in canning. Always use 5% acidity vinegar.
- Granulated Sugar: Just a touch to balance the tartness of the vinegar without making the pickles sweet.
- Sea Salt: Or pickling salt. It’s essential to use salt free of iodine and anti-caking additives, as these can make your brine cloudy and potentially affect the pickle’s texture.
Flavorful Add-ins for Your Dill Pickles
While classic American dill pickles typically rely on a straightforward vinegary brine, the world of pickled cucumbers offers a vast array of flavor possibilities through various spices and aromatic additions. These ingredients can significantly enhance your pickles without compromising the safety or integrity of the preserving solution. Here are some fantastic add-ins you can safely incorporate into your jars:
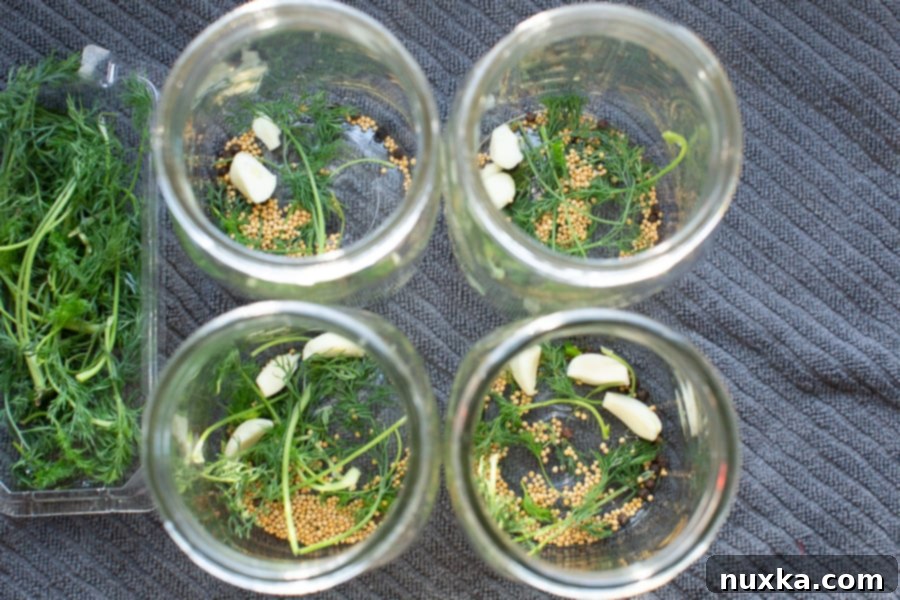
- Horseradish Roots, Currant Leaves, or Bay Leaves: These can be added directly to your clean glass jars before packing with cucumbers. Horseradish adds a zesty, pungent kick, while currant leaves and bay leaves contribute subtle, earthy notes and are also believed to help maintain pickle crispness.
- Pickling Spice Mix: For a complex, aromatic profile, consider using a pre-made pickling spice blend. If you have a spice mesh strainer or sachet, you can fill it with your favorite pickling spice to infuse the brine water without having loose spices in your jars.
- Sliced Onions: Last year, I successfully tested this canning recipe with sliced onions, and they pickled safely and deliciously within this high-acid brine. They add a wonderful sweetness and bite to the pickles.
- Dill Alternatives: If fresh dill heads (stems with flowers) are hard to come by, don’t despair! You can use fresh dill sprigs from your grocery store’s herb section. Alternatively, add 1 teaspoon of dill seeds to each jar. It’s crucial to avoid dried dill weed, as it will break down and make your pickle jars appear murky.
- Whole Allspice Berries or Coriander Seeds: A few whole allspice berries or coriander seeds can introduce warm, slightly citrusy, or peppery notes, adding another layer of complexity to your brine.
Note: It’s important to remember that mustard seeds cannot be substituted with ground mustard. Ground mustard will cause your brine to become cloudy, which isn’t ideal for the visual appeal of your beautiful homemade pickles.
How to Make Dill Pickles: A Step-by-Step Canning Guide
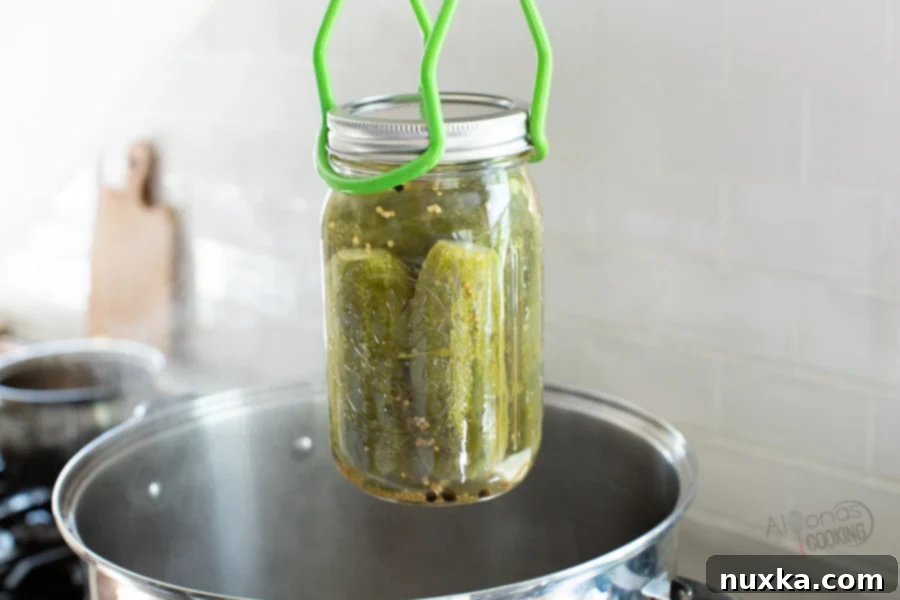
The process of pickling cucumbers for extended shelf life is a simple and rewarding endeavor. The core technique we’ll use is the water bath canning method. For this, you’ll need a large pot, such as a dedicated water bath canner, or any large stock pot that is at least 20 quarts deep and equipped with a rack at the bottom. The water bath process involves submerging your filled jars in boiling water (at 212°F or 100°C) for a specific duration. This intense heat effectively sterilizes the jar’s contents and creates a vacuum seal as the jars cool, preserving your pickles safely. You’ll know a jar has successfully sealed when you observe bubbles rising from inside the jar as you remove it from the hot water bath, and later, the lid will depress and not pop back up.
The Canned Dill Pickles Recipe: Detailed Instructions
- Wash and Prepare Cucumbers: Begin by thoroughly washing your cucumbers. An essential step for crisp pickles is to slice off a tiny sliver from the blossom end of each cucumber. This end contains enzymes that can cause your pickles to soften. The opposite, stem end, can be left intact.
- The Crunchy Pickle Secret – Salt Brine Soak: For the absolute crunchiest pickles, submerge your prepped cucumbers in the cold salt brine (1 gallon water + 1/2 cup sea salt, free of additives) for a minimum of 12 hours, and up to 7 days, stored in the refrigerator. This draws out excess water, making them firmer. While highly recommended, you can skip this step and still get good pickles, but they won’t be quite as crisp.
- Sterilize Your Jars: Before filling, sterilize your canning jars and lids to eliminate any harmful bacteria. The most effective way is to boil them in a pot of water for a few seconds or run them through a “sanitized wash” cycle in your dishwasher. The bands (rings) do not need to be sterilized, as they do not come into contact with the food during processing.
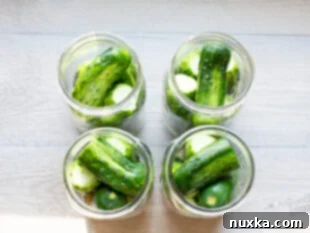
- Assemble Pickling Spices and Cucumbers: Into each sterilized jar, add your desired pickling spices: typically 10 peppercorns, one dill stem (or 1 tsp dill seeds), 3 halved garlic cloves, and 1 teaspoon of mustard seeds. Then, carefully pack the fresh cucumbers into the jars, ensuring they are tightly arranged but do not exceed the recommended headspace (usually 1/2 inch from the rim). This prevents bulging lids and ensures proper sealing.
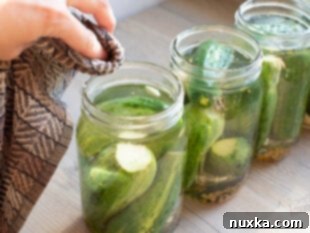
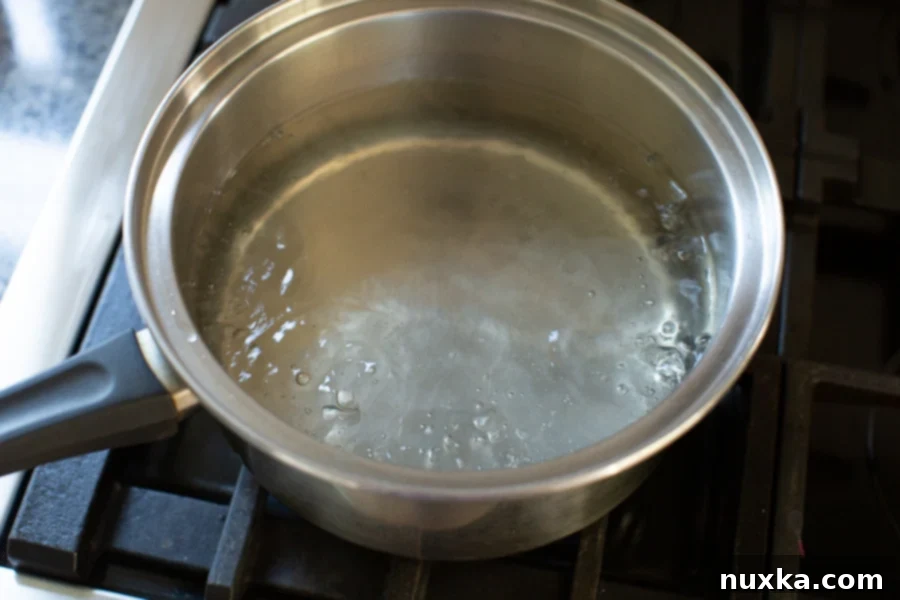
- Prepare and Pour the Brine: In a separate pot, bring all the pickling brine ingredients (water, distilled white vinegar with 5% acidity, granulated sugar, and sea salt) to a rolling boil. Stir until the sugar and salt are completely dissolved. Once boiling, carefully pour this hot brine over the assembled cucumbers in each jar, filling them up to the headspace mark. Wipe the rims of the jars clean with a damp cloth to ensure a good seal. Place the lids on top and screw on the rings finger-tight – snug but not overly tight, allowing air to escape during processing.
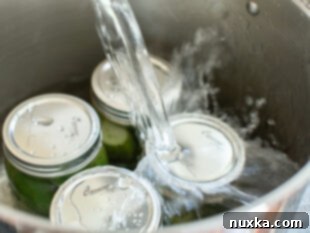
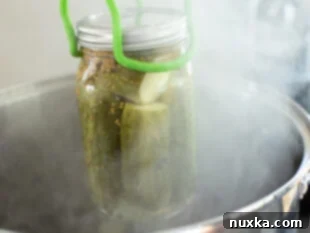
- The Water Bath Canning Process: Gently place the filled jars into your water bath canner, ensuring they are on a rack and not touching each other or the bottom of the pot. Cover the jars with at least 2 inches of warm or hot tap water. Bring the water in the canner to a full, rolling boil. Once boiling, set your kitchen timer for 10 minutes. After 10 minutes, carefully remove the jars from the boiling water using a jar lifter. Place them on a kitchen towel or wire rack, and if the rings aren’t tight enough, use the towel to carefully tighten them a little more. Allow the jars to cool completely and undisturbed for 12-24 hours. After cooling, check for a proper seal.
How Long Do Homemade Pickles Last?
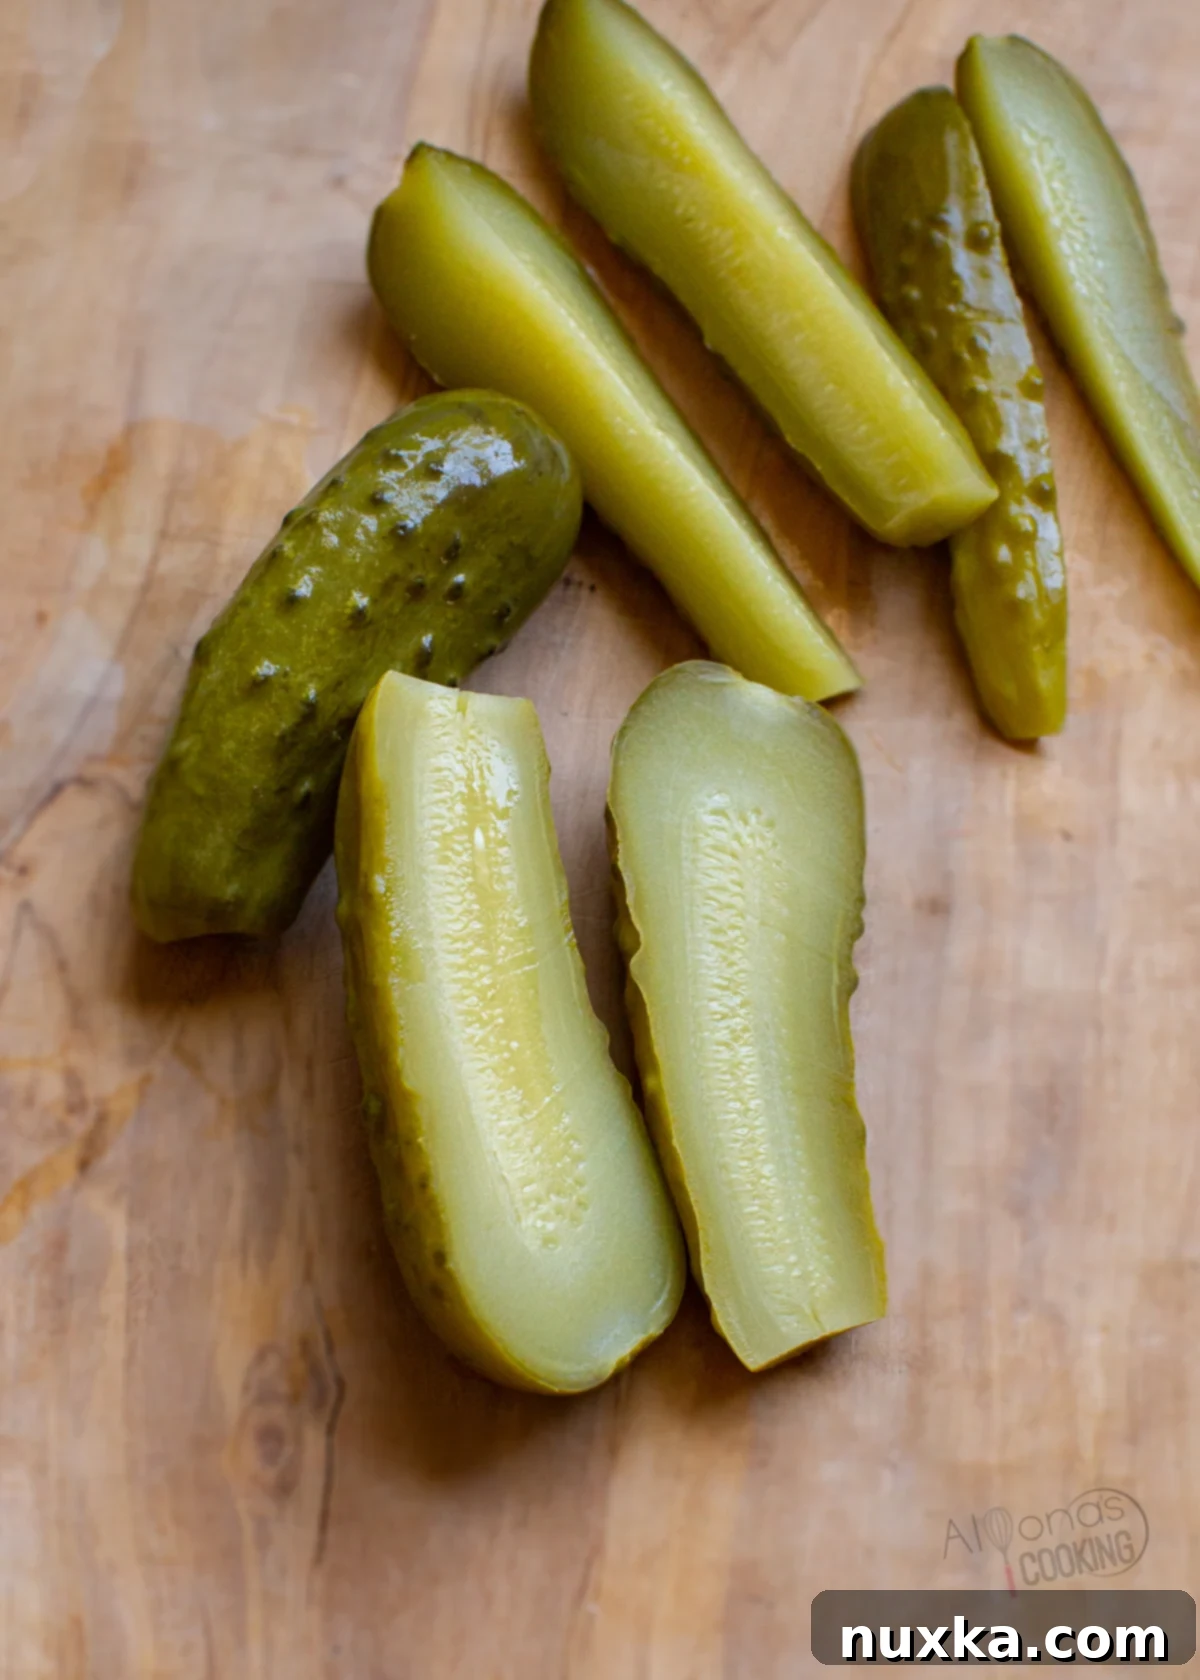
A common question is, “Do pickles go bad?” The good news is, if you’ve followed the proper processing and canning procedures correctly, your canned pickles can last for up to a year (or even longer!) on your pantry shelf without any issues. This incredible shelf life is thanks to the high acidity of the brine and the vacuum seal created during the water bath process.
After you’ve removed the jars from the water bath, it’s crucial to let them cool for a full 24 hours before checking their seals. To confirm a successful vacuum seal, simply press down on the center of each lid. If the lid doesn’t pop back up or click, it means it’s securely sealed and safe to store in a dark, cool place for many months. Unopened jars will remain shelf-stable for a significant period. However, once you open a jar, it must be refrigerated, and its contents should be consumed within a few weeks for best quality. If, for any reason, a jar doesn’t seal (the lid pops when pressed), don’t discard those delicious cucumbers! Simply store that particular jar in the refrigerator and enjoy its contents as “refrigerator pickles” within about a week.
Quick Tip: How to Easily Open a Pickle Jar
Struggling with a tightly sealed homemade pickle jar? Here’s a simple hack that will save your nails and your temper! Many kitchen shears come equipped with a built-in bottle opener feature. You can often use this same notch to gently pry open the edge of the jar lid, breaking the vacuum seal with minimal effort. This little trick makes enjoying your delicious pickles even easier!
What to Eat Your Canned Dill Pickles With
Homemade dill pickles are incredibly versatile and can be enjoyed in countless ways – truly, anywhere you’d reach for a store-bought pickle! A jar of these tangy delights is the perfect accompaniment to so many meals. They shine alongside classic sandwiches, complement a side of rich creamy mashed potatoes, and much more. Don’t be afraid to get creative!
- Utilize that flavorful pickle juice to make these savory chicken salad sandwiches.
- Serve them alongside any comforting potato casserole or crispy oven-baked potato wedges.
- Whip up a batch of warming dill pickle soup or incorporate them into a classic potato salad.
- They’re a fantastic counterpoint to rich dishes like mac and cheese or delicious ham and cheese sliders.
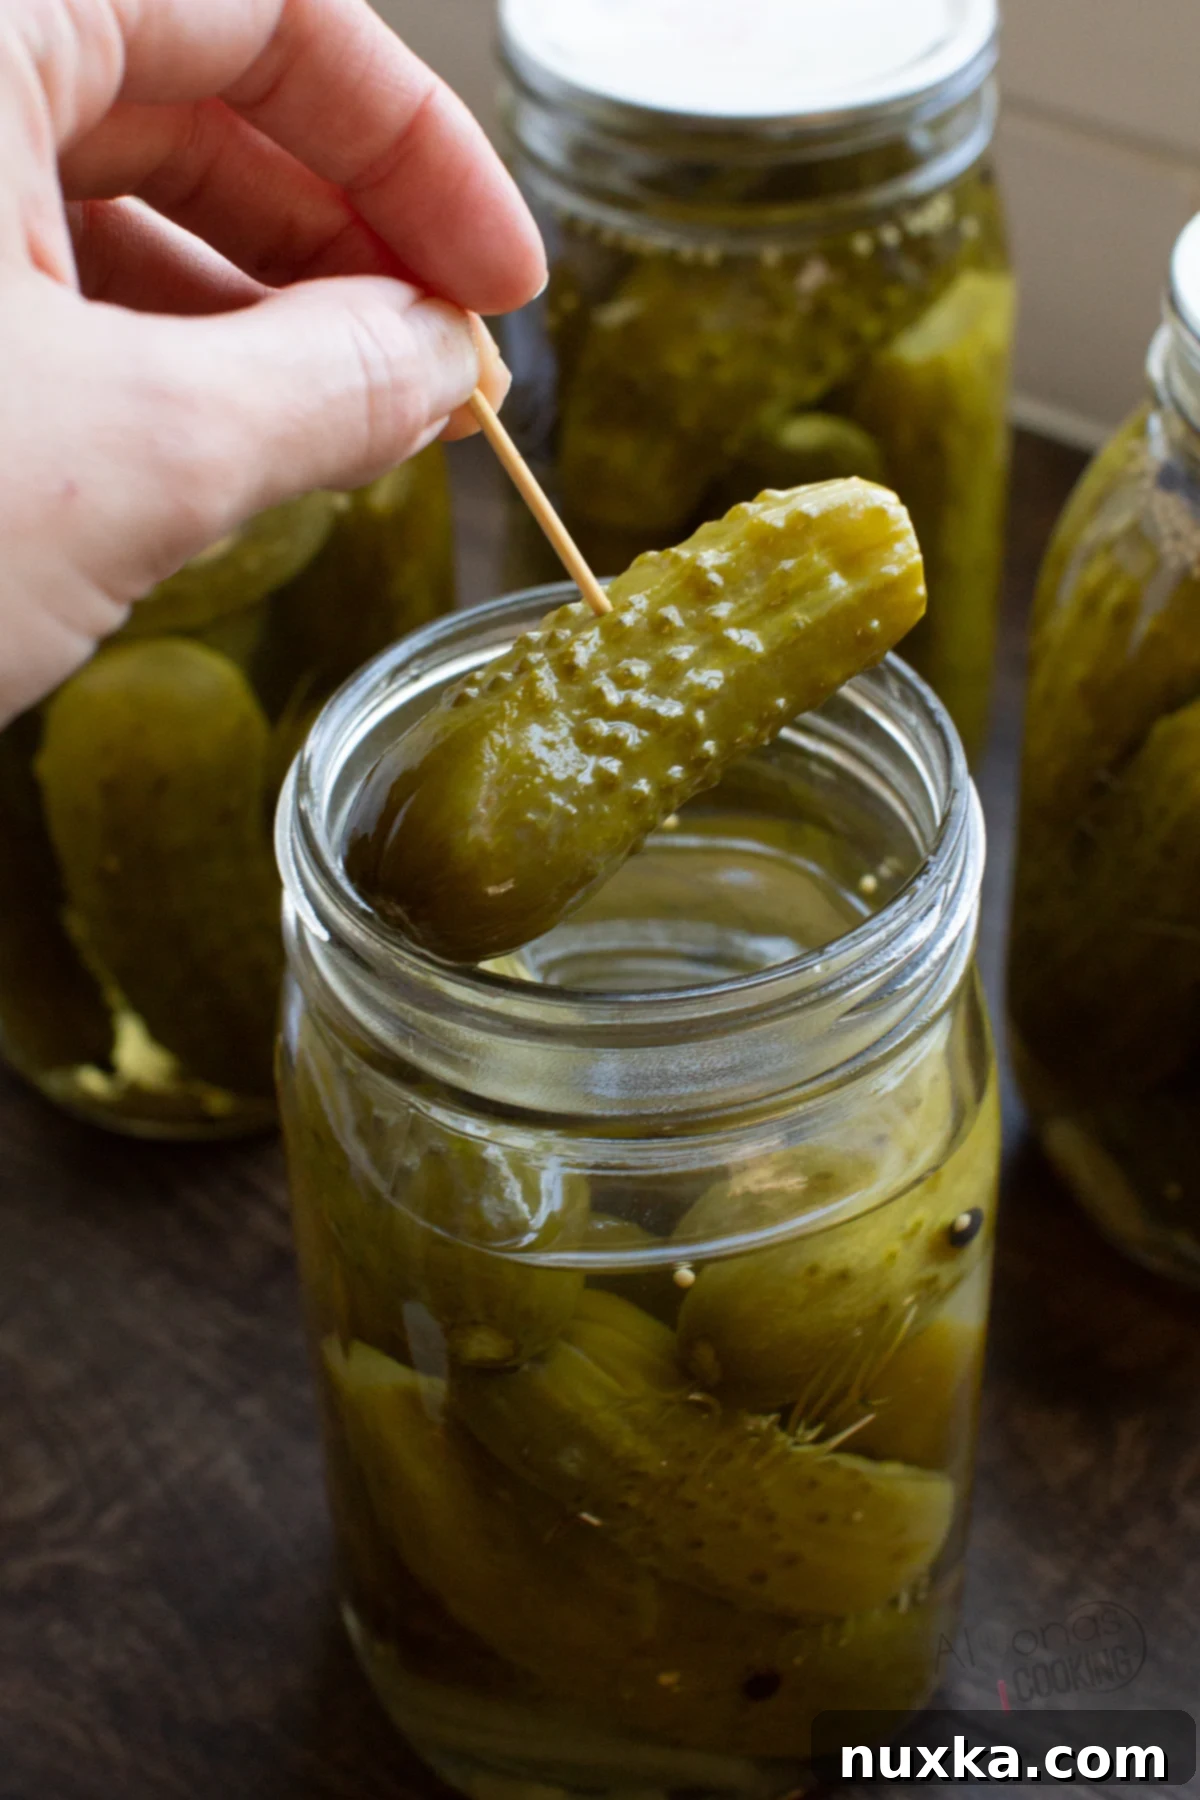
Expert Tips for Achieving the Crispiest Dill Pickles:
- Chill Before Serving: To enhance their refreshing qualities, pop a sealed jar of canned pickles into the fridge a few hours before you plan to serve them. Cold pickles are incredibly crisp and satisfying. Cutting them into spears can also help stretch servings.
- Do Not Overprocess: Precision in processing time is key! Once the water in your canner reaches a rolling boil, start your timer for precisely 10 minutes. Overprocessing can lead to softer pickles.
- Size Matters for Crunch: The golden rule for crispness is to use smaller cucumbers. They generally contain fewer seeds and have a firmer flesh, making them inherently crunchier than larger, more mature cucumbers.
- Maximize Jar Space: Smaller cucumbers also offer a practical advantage: you can fit more of them into each canning jar, maximizing your yield!
- Trim the Blossom End: Always trim a small slice off the blossom (flower) end of the cucumber. This part contains enzymes that can break down the pectin in the cucumber, leading to soft or mushy pickles. The stem end is typically fine to leave on.
- Mind the Headspace: When packing cucumbers and pouring brine, leave adequate headspace (typically 1/2 inch) just below the rim of the canning jars. Too much headspace can prevent a proper seal, while too little can cause lids to bulge or seals to fail.
- Select Firm Cucumbers: Inspect your cucumbers carefully. Discard any that are soft, bruised, or mushy. If only parts are spotted, trim those sections off and save the firm parts for fresh eating or relish. Only firm, healthy cucumbers will produce the best pickles.
- Avoid Thermal Shock: Never add cold jars to hot water or vice-versa. This drastic temperature change can cause your glass jars to crack or break. Always use warm tap water when filling your water bath canner if your jars are at room temperature, or ensure jars are hot if adding to hot water.
- Reuse Rings, Store Lids Separately: After your jars have successfully sealed and cooled, you can safely remove the metal rings. The lids will remain sealed to the jars. This allows you to reuse the rings for future canning projects and prevents rust.
- Cut Pickles Process the Same: Whether you choose to make dill pickle chips, spears, or whole pickles, the water bath canning time remains the same at 10 minutes.
- For Gherkin Pickles: If you desire tiny gherkin pickles, specifically choose and pick fresh cucumbers that are small or miniature in size.
How To Make Pickles: Recipe Card
Rate
Pin
Canned Dill Pickle Recipe
Equipment
-
4 quart-sized jars (ball glass jars with lids and rings)
-
1 Jar lifter (to safely transfer jars)
-
1 water bath canner (or a large 20-quart stock pot with a rack)
Ingredients
Ingredients:
-
4 lbs cucumbers (washed and trimmed on the blossom end)
-
2 tsp peppercorns (10 per jar)
-
2 dill stems with flowers* (cut in half)
-
6 garlic cloves (halved)
-
4 tsp mustard seeds (1 teaspoon per jar)
Pickling Brine:
-
5 cups filtered water
-
1 cup distilled white vinegar (5% acidity)
-
1/2 cup cane sugar
-
1 Tbsp sea salt (or pickling salt)
Cold Brine For Crunchy Pickles:
-
1 gallon water
-
1/2 cup sea salt (free of additives)
Instructions
-
 Prep cucumbers, wash, and slice the blossom end of the cucumbers.
Make Salt Brine For Crunchy Pickles:
-
 Mix together 1 gallon of cold water and 1/2 cup of salt. Keep freshly pickled cucumbers submerged in this brine for up to a week or 12 hours in the refrigerator. Then proceed with the recipe. You can skip this step and still have exceptional pickles.
How to Make Pickles:
-
 Sterilize the lids and jars in boiling water or run them through the dishwasher on “sanitized wash”. Bands don’t need to be sterilized they can rust.
 -
 Place 10 peppercorns, 1 dill stem, 3 garlic halves, and 1 teaspoon of mustard seeds per jar. Pack jars tightly with the cucumbers (do not exceed headspace.)
 -
 Meanwhile, bring all the pickling brine ingredients to a boil. Pour over each assembled jar and fill just below the 1/2-inch headspace. Wipe clean rims and tighten the lids and rings finger-tight.
 -
 Place jars into a water bath canner and cover them with 2 inches of warm tap water. Bring to a rolling boil and process for 10 minutes.
 -
 Remove the jars onto a kitchen towel using a jar lifter. Cool jars completely before checking if they are sealed (about 12-24 hours).
Notes
- If cucumbers are too big, cut them into rings or spears.
