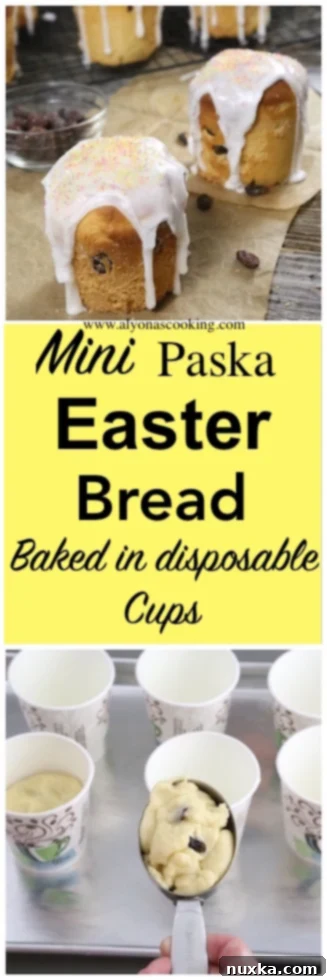
Mastering Mini Paska: An Easy Kulich Recipe for Delicious Easter Bread
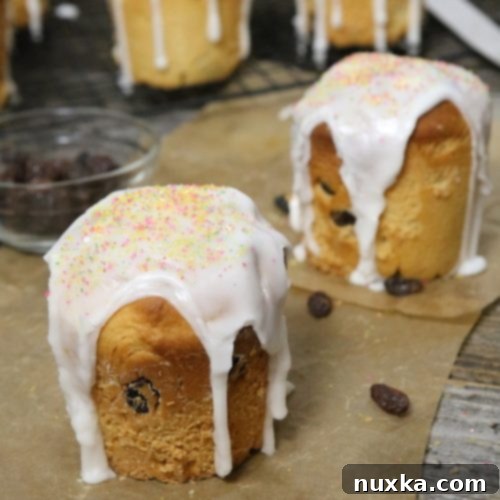
Easter is a time for celebration, reflection, and, of course, delicious food. Among the many culinary traditions, Paska, also known as Kulich, stands out as a beloved sweet bread that graces tables across Eastern Europe and beyond. This rich, often dome-shaped bread, adorned with a sweet glaze and colorful sprinkles, symbolizes the joy and sweetness of the resurrection. While the thought of baking traditional Easter bread might seem daunting, this recipe simplifies the process, allowing even novice bakers to create beautiful and incredibly tasty Mini Paska Easter Breads.
The Enduring Tradition of Paska and Kulich
Paska and Kulich are more than just breads; they are edible symbols deeply rooted in Orthodox Christian Easter traditions. Originating from Eastern European cultures, these sweet, cylindrical loaves are often baked in tall molds, resembling church domes. They are typically blessed in church on Easter morning, representing the presence of Christ and the joy of the holiday season. The bread is rich with eggs, butter, and sugar, often flavored with citrus zest, vanilla, or spices, and frequently studded with dried fruits like raisins. This particular recipe for Mini Paska offers a charming and manageable way to participate in this beautiful tradition, making it accessible for modern kitchens and busy schedules.
Why Choose Mini Paska Baked in Disposable Cups?
This recipe introduces a brilliant and practical approach to baking Paska: using disposable foam cups. This method offers several key advantages that make it perfect for beginners and seasoned bakers alike:
- Ease of Baking: No need for special Paska molds! Standard disposable foam cups (ensure they are oven-safe and can withstand temperatures up to 350°F, as some foam cups are designed for hot beverages but may not be suitable for baking) make individual portions effortless. Alternatively, sturdy paper baking cups or even small, greased metal cans can be used.
- Perfect Portions: Mini Paskas are ideal for sharing with family and friends, gifting to neighbors, or simply enjoying a smaller, personal treat. They also bake more quickly than a large loaf.
- Simple Cleanup: Once baked, the disposable cups make cleanup incredibly easy – simply discard them! This is a significant time-saver, especially during holiday preparations.
- Beginner-Friendly: The recipe itself is designed to be very forgiving. While yeast bread can sometimes intimidate, the straightforward steps ensure a successful outcome, even if it’s your first time baking an Easter bread.
It’s important to clarify the use of foam cups. While the original content suggests safety for hot tea implies safety for oven heat, prolonged oven exposure to certain foam materials can be a concern for some. Always check if your specific foam cups are rated as “oven-safe” or “bakeable.” If not, consider using paper baking cups (often labeled for muffins or cupcakes) or even lining metal cans with parchment paper for a similar effect. For the purposes of this recipe, we proceed with the assumption of using appropriate, oven-safe disposable cups.
Ingredients for Your Delicious Mini Paska Easter Bread
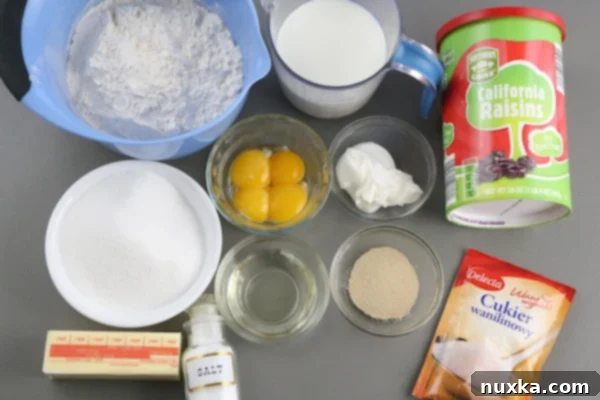
Crafting these delightful mini breads requires a careful balance of ingredients that contribute to their signature richness and fluffy texture. Here’s what you’ll need:
Dough Ingredients:
- Warm Milk: 1 1/4 cups – Crucial for activating the yeast. Ensure it’s between 105-115°F (40-46°C) – warm to the touch but not hot.
- Dry Yeast: 2 tbsp – The leavening agent that gives the bread its rise and airy texture.
- Sugar (for yeast activation): 1 tbsp – Feeds the yeast, helping it become active.
- Egg Yolks: 4 – Provide richness, color, and tenderness to the dough.
- Sour Cream: 1/4 cup – Adds moisture, a slight tang, and contributes to the bread’s soft crumb.
- Melted Butter: 6 tbsp – Enhances flavor and tenderness. Allow it to cool slightly before adding to prevent “cooking” the eggs.
- Sugar (for dough): 1 cup – Sweetens the bread, making it a true dessert or sweet treat.
- Vegetable Oil: 3 tbsp – Contributes to a softer crumb and helps keep the bread moist.
- Salt: 1/2 tsp – Balances the sweetness and strengthens the gluten structure.
- Vanilla Sugar: 1 tsp – Infuses a lovely aromatic vanilla flavor. If you don’t have vanilla sugar, use 1 tsp vanilla extract.
- All-Purpose Flour: 4 1/4 cups – The main structural component of the bread.
- Raisins: 1/2 cup – Traditional addition, providing bursts of sweetness. You can also use other dried fruits like cranberries or candied citrus peel.
Glaze Ingredients:
- Powdered Sugar: 2 1/2 cups – Forms the base of the sweet, smooth glaze.
- Water: 3 tbsp – Used to thin the glaze to the desired consistency.
- Milk: 3-4 tbsp – Adds creaminess to the glaze.
- Vanilla Sugar: 1/2 tsp – For extra vanilla flavor in the glaze. Again, vanilla extract works too.
- Colored Sprinkles: For garnish – Adds a festive and traditional touch.
Step-by-Step Baking Guide: How to Make Mini Paska Easter Bread
-
Activate the Yeast
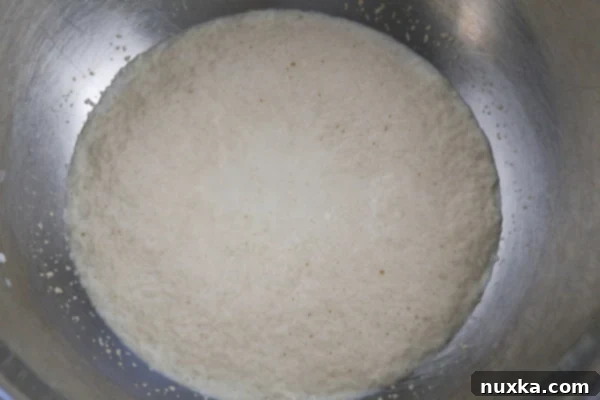
In the bowl of a stand mixer (or a large mixing bowl if kneading by hand), whisk together the warm milk, 1 tablespoon of yeast, and 1 tablespoon of sugar. Allow this mixture to sit undisturbed for about 15 minutes. During this time, the yeast should become foamy and active, indicating it’s ready to work its magic. If it doesn’t foam, your yeast might be old, or the milk wasn’t at the right temperature, and you should start over.

-
Combine Wet Ingredients
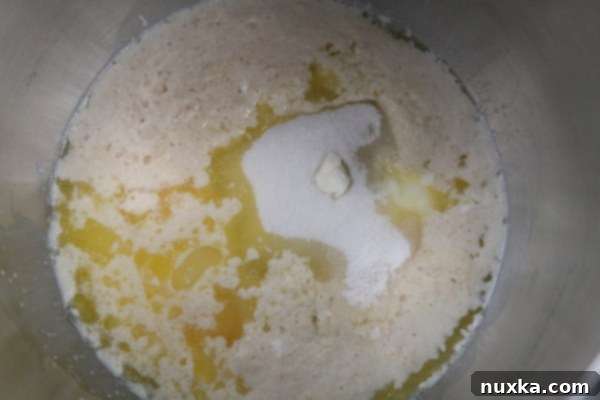
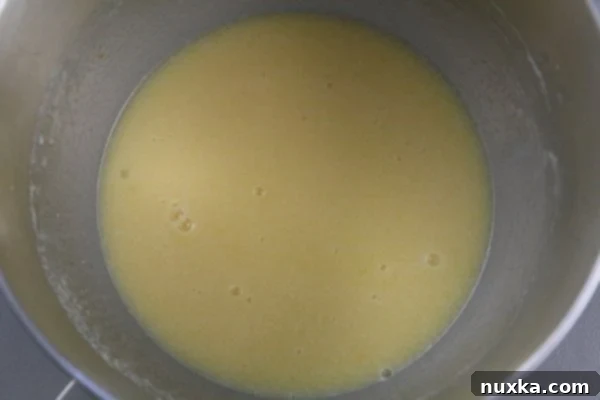
After the yeast is active, add the egg yolks, sour cream, melted butter, the remaining 1 cup of sugar, vegetable oil, salt, and vanilla sugar to the yeast mixture. Whisk everything thoroughly to ensure all ingredients are well incorporated. This creates a rich, flavorful base for your sweet bread. The melted butter should be cooled to lukewarm so it doesn’t scramble the egg yolks.


-
Form and Knead the Dough
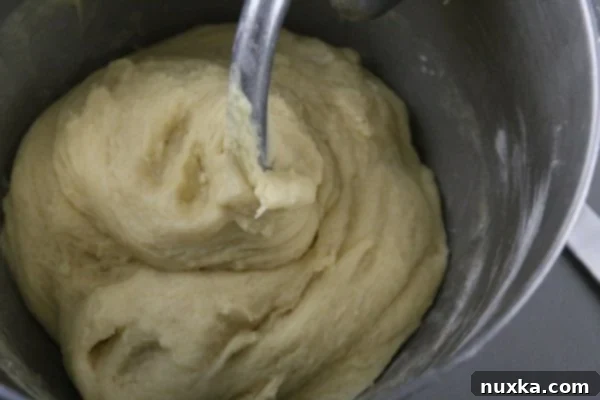
Gradually add the flour. Begin by adding about 3 cups of flour to the wet mixture and start kneading on low speed using your stand mixer with a dough hook. Continue adding the remaining flour, a little at a time, until the dough comes together. Once formed, increase the speed to medium and knead for about 5 minutes. The dough should be slightly tacky but should not stick excessively to your hands or the bowl. When poked gently, an indent should form and slowly spring back. Proper kneading develops gluten, which is essential for a soft and elastic bread texture.

-
First Rise
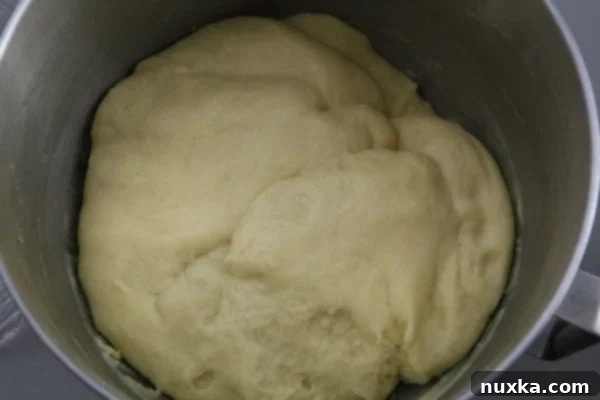
Lightly grease a large bowl with oil, place the dough in it, and turn it once to coat. Cover the bowl with plastic wrap or a clean kitchen towel and place it in a very warm, draft-free spot. Allow the dough to rise for 2-3 hours, or until it has doubled in size. Sweet doughs, like Paska, tend to rise slower due to the high sugar and fat content, which can inhibit yeast activity. Don’t worry if it takes a bit longer; patience is key for a light and airy bread.

-
Incorporate Raisins and Shape
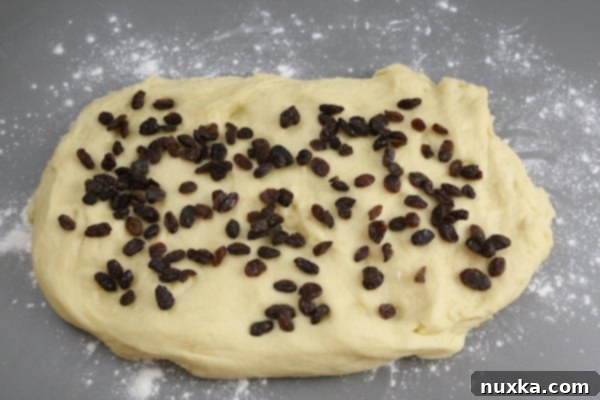
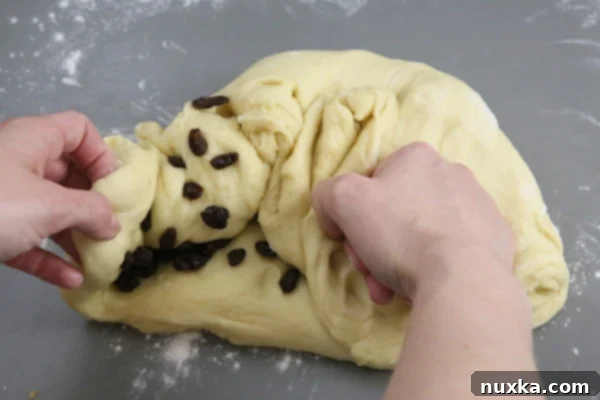
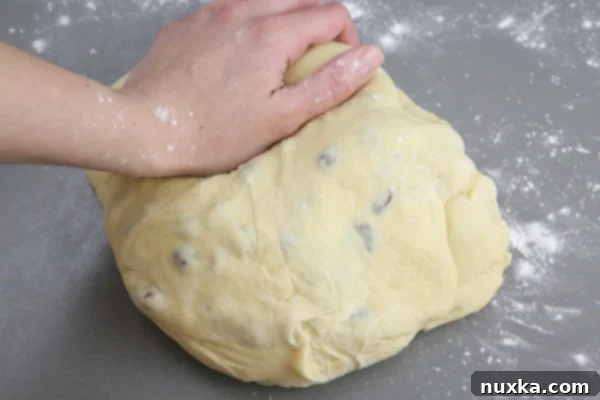
Once the dough has doubled, gently punch it down to release the air. Transfer the dough to a lightly floured surface. Gently pat it into a rectangular shape. Sprinkle the raisins evenly over the dough. Lightly knead the dough a few times, just enough to distribute the raisins throughout. Then, shape the dough into a smooth ball, dusting with a little more flour if necessary to prevent sticking. For best results, lightly flour the raisins before adding them to the dough; this helps prevent them from sinking to the bottom during baking.


-
Prepare Cups and Portion Dough
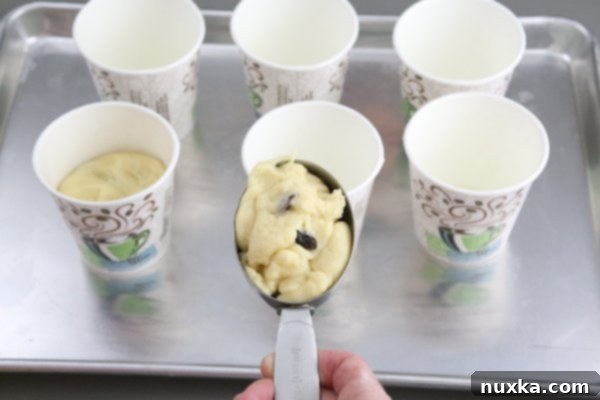
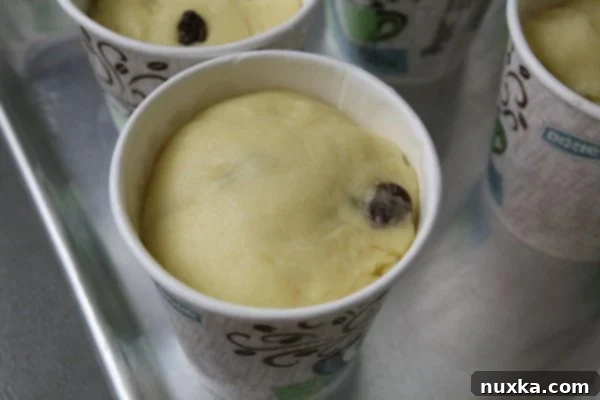
Take 10 (10 oz) disposable foam cups (or oven-safe alternatives). Spray each cup thoroughly with cooking spray and then lightly flour them, tapping out any excess. This ensures the mini breads won’t stick. Arrange the prepared cups onto a large baking sheet. Scoop out approximately 1/2 a cup of dough for each mini Paska. Shape each portion into a smooth ball and place it into a cup. Each cup should be about halfway full of dough, yielding approximately 10 mini breads.

-
Second Rise
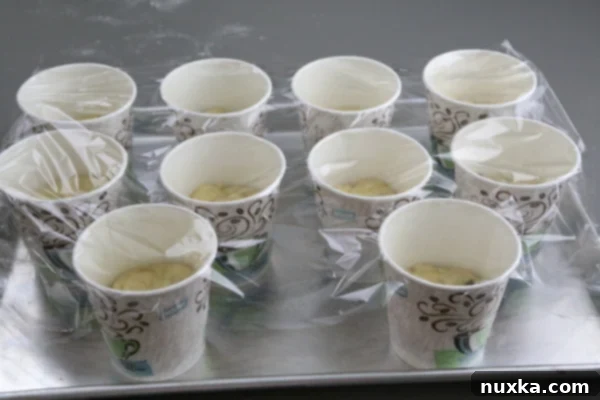
Cover the cups loosely with plastic wrap. Return them to a warm, draft-free place for a second rise. Allow the dough to rise until it has doubled in size again, or until it nearly reaches the rim of each cup. This usually takes another 2-3 hours. The second rise is crucial for developing a light, airy texture and achieving that beautiful dome shape characteristic of Paska.


-
Bake to Golden Perfection
Preheat your oven to 350°F (175°C). Once the dough has completed its second rise, carefully transfer the baking sheet with the cups into the preheated oven. Bake for 40-45 minutes, or until the tops are beautifully golden brown and a wooden skewer inserted into the center comes out clean. If the tops start to brown too quickly, you can loosely tent them with aluminum foil.
-
Cool and Unmold
Allow the baked mini breads to cool in their cups on the baking sheet for about 4 minutes. This brief cooling period helps the bread firm up slightly. Then, run a sharp knife carefully around the inside edge of each cup to loosen the bread. Tip the cup over and gently squeeze the bottom until the bread pops out. Repeat for all breads. Avoid pulling the bread out forcefully, as this can damage its delicate structure.
-
Glaze and Garnish
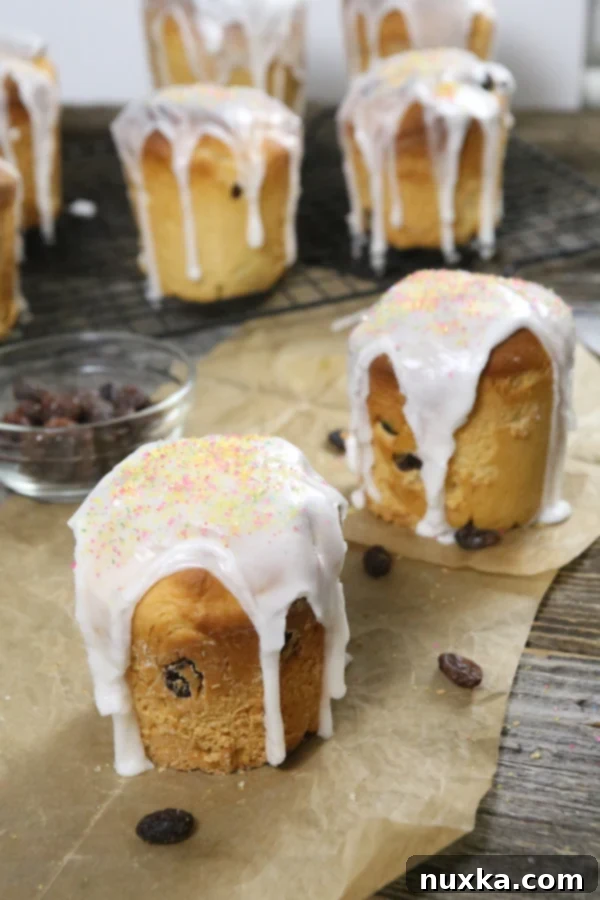
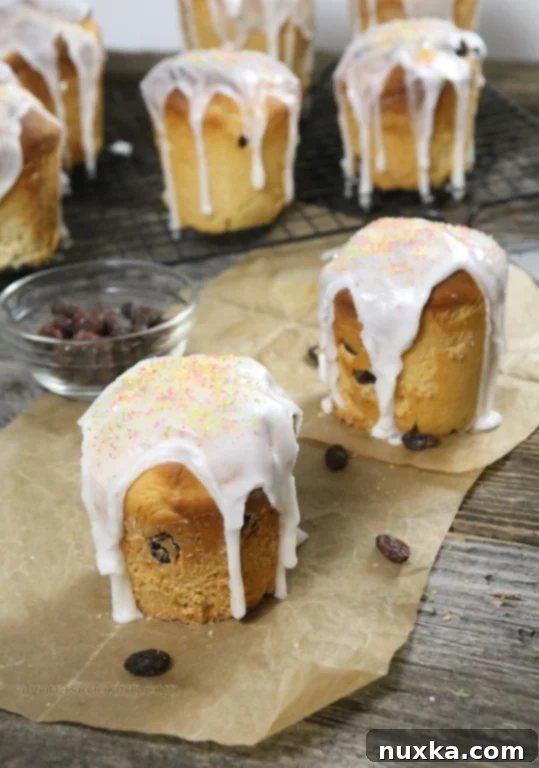
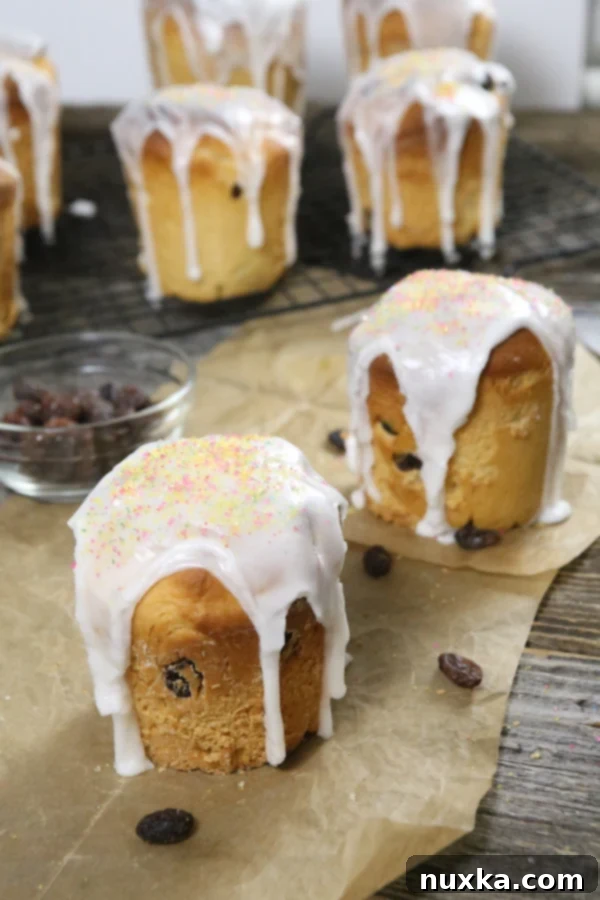
While the breads are still warm (but not hot), prepare the glaze. In a small bowl, whisk together the powdered sugar, 3 tablespoons of water, 3 tablespoons of milk, and 1/2 teaspoon of vanilla sugar. Start with the smaller amounts of water and milk, adding more by the tablespoon until you achieve a smooth, pourable consistency that is thick enough to coat but not too runny. A little liquid goes a long way! Drizzle or spread the glaze generously over the warm breads and immediately sprinkle with colored sugar or other festive garnishes. The warmth of the bread will help the glaze set beautifully.

Tips for Paska Perfection
- Room Temperature Ingredients: Ensure eggs, sour cream, and butter are at room temperature for better incorporation into the dough and consistent rising.
- Don’t Over-Flour: Resist the urge to add too much flour. A slightly tacky dough is desirable for a tender crumb.
- Warm Environment for Rising: A warm oven (turned off, with the light on), a sunny spot, or even a proofing drawer can provide the ideal conditions for your dough to rise.
- Patience is a Virtue: Sweet doughs take longer to rise. Don’t rush the process; allow the yeast ample time to work.
- Creative Garnishes: Beyond sprinkles, consider adding candied citrus peel, toasted slivered almonds, or a dusting of confectioners’ sugar for variation.
Serving and Storage
Mini Paska is best enjoyed fresh, slightly warm, or at room temperature. It pairs wonderfully with a cup of coffee or tea. Store leftover Paska in an airtight container at room temperature for up to 3-4 days. For longer storage, you can freeze unglazed Paska (once completely cooled) wrapped tightly in plastic wrap and then aluminum foil for up to 2-3 months. Thaw at room temperature and glaze before serving.
Rate
Pin
Paska Easter Bread Recipe (Kulich)
Ingredients
-
DOUGH:
-
1 1/4 cup warm milk
-
2 tbsp dry yeast
-
1 tbsp sugar
-
4 egg yolks
-
1/4 cup sour cream
-
6 tbsp butter melted
-
1 cup sugar
-
3 tbsp vegetable oil
-
1/2 tsp salt
-
1 tsp Vanilla sugar
-
4 1/4 cups flour
-
1/2 cup raisins
-
GLAZE:
-
2 1/2 cups Powdered sugar
-
3 tbsp water
-
3-4 tbsp milk
-
1/2 tsp vanilla sugar
-
colored sprinkles for garnish
Instructions
-
In the bowl of a stand mixer, whisk together the warm milk, 1 tbsp of yeast and 1 tbsp of sugar; allow mixture to sit for 15 minutes.
-
Then add the yolks, sour cream, melted butter, 1 cup of sugar, oil, salt and vanilla sugar to the yeast mixture, whisking well to incorporate everything.
-
Add 3 cups of flour to the yeast mixture and knead dough over low speed adding remaining flour until the dough has formed. Once dough has formed knead for 5 minutes over medium speed. (Dough will be slightly tacky yet indents can be easily made when poking.)
-
Cover dough and allow to rise for 2-3 hours in a very warm place or until doubled in size. (Your dough shouldn’t rise super fast so don’t worry if it’s taking very slow.)
-
Transfer dough to a lightly floured surface and slightly pat into a rectangular shape. Sprinkle dough with raisins and lightly knead into a ball dusting a little more flour to form a smooth ball.
-
Spray 10 (10 oz) disposable foam cups with cooking spray and lightly flour each cup. Place cups onto a large baking sheet and scoop out 1/2 a cup of dough. Shape dough into balls then place into each cup. (Cups should be half way full of dough and makes about 10 balls.)
-
Cover cups with plastic wrap and allow dough to rise until doubled in size or until dough reaches almost the rim of the cup (2-3 hours.)
-
When dough has doubled in size place in a preheated 350 degrees F oven and bake for 40-45 minutes or until nicely browned.
-
Allow breads to cool in cups for 4 minutes then run a sharp knife around the sides. Tip over and lightly squeeze the bottom of the cup for the bread to pop out. Repeat until bread removes, do not pull bread out.
-
Whisk together the glaze adding more water if needed. (A little goes a big way so please add the water and milk by tbsp until desired consistency.) Glaze warm breads and sprinkle with colored sugar.
Conclusion: A Taste of Easter Tradition Made Easy
Baking Mini Paska Easter Bread is a wonderful way to bring a touch of tradition and delicious sweetness to your holiday table. This simplified Kulich recipe, utilizing the clever technique of disposable cups, makes the process approachable for every home baker. The resulting mini breads are beautifully golden, wonderfully fluffy, and perfectly sweet, topped with a delightful glaze and festive sprinkles. Whether you’re an experienced baker or trying your hand at yeast bread for the first time, this recipe guarantees a rewarding experience and a truly special treat to share with loved ones. Embrace the joy of Easter baking and delight in these charming Mini Paskas!
