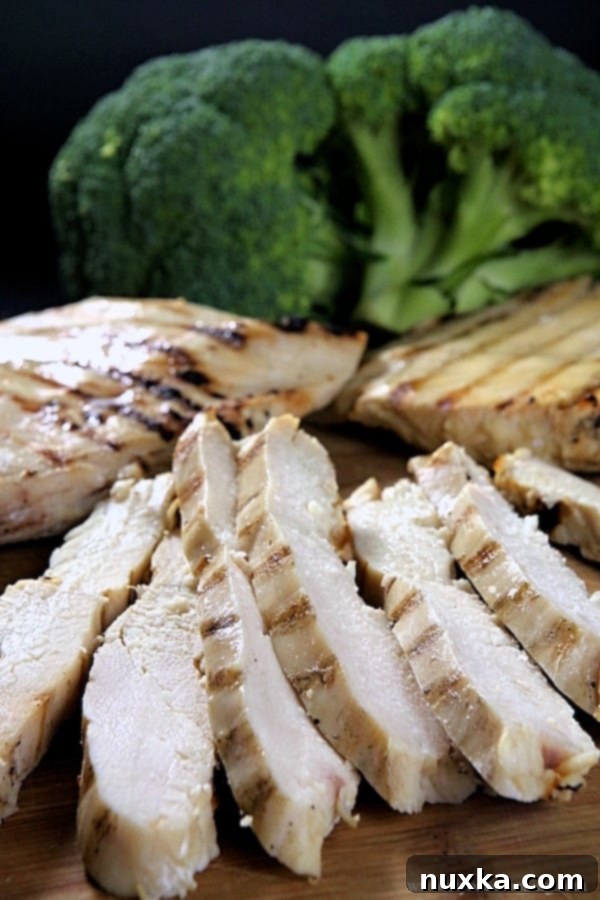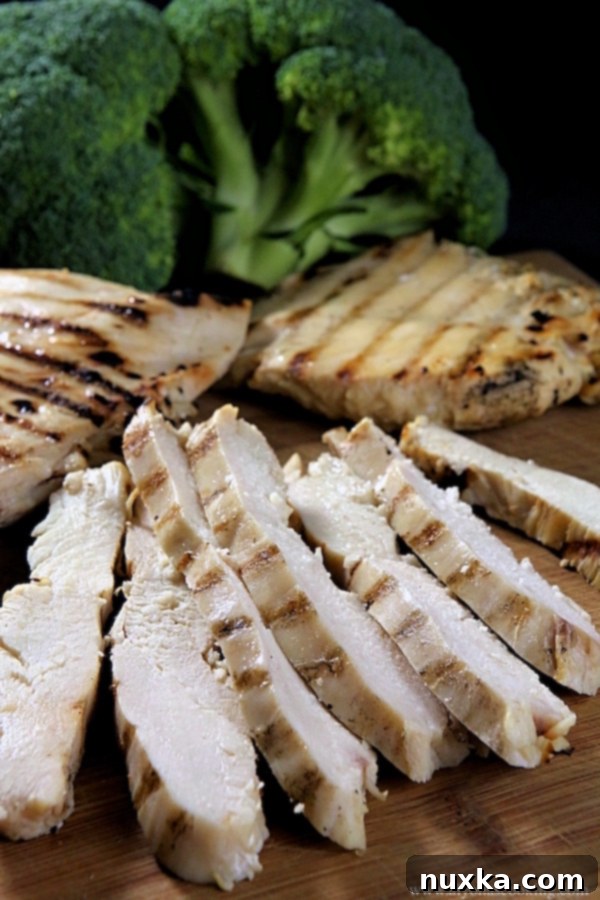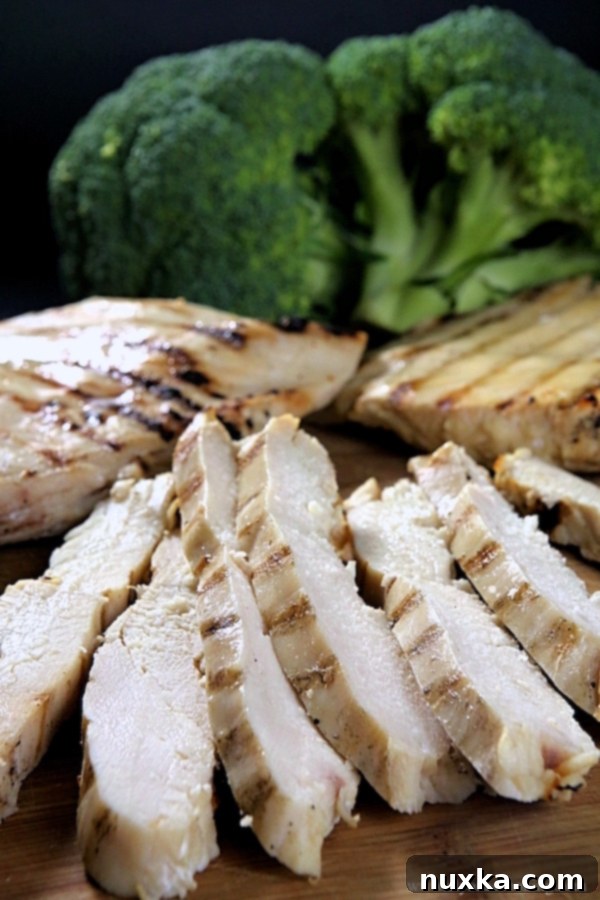
Mastering Freezer-Friendly Grilled Chicken Strips: The Ultimate Meal Prep Guide
In our fast-paced lives, finding shortcuts to healthy and delicious meals is a game-changer. Imagine having perfectly cooked, juicy grilled chicken ready to be added to any dish in minutes. This comprehensive guide will show you how to prepare flavorful, brined, and grilled chicken breast strips that are ideal for freezing, significantly reducing your meal prep time and ensuring you always have a healthy protein option at hand.
Whether you’re looking to streamline your weekly cooking, make the most of a chicken breast sale, or simply want a quick and easy way to incorporate lean protein into your diet, this freezer-friendly grilled chicken recipe is your answer. Say goodbye to last-minute cooking stress and hello to organized, efficient, and incredibly tasty meal preparation!
Why Pre-Cooked Grilled Chicken Strips Are a Meal Prep Essential
Having a batch of pre-cooked grilled chicken strips in your freezer offers unparalleled convenience. It transforms complex meal ideas into simple assemblies. Here’s why this approach is revolutionary for anyone serious about healthy eating and time management:
- Unbeatable Convenience: No more waiting for chicken to cook from scratch. Just thaw and toss into your favorite meals.
- Healthy Eating Made Easy: When healthy options are readily available, you’re less likely to reach for unhealthy alternatives. These lean protein strips support a balanced diet.
- Versatility at Its Best: From salads and wraps to pastas and stir-fries, these chicken strips are incredibly adaptable, forming the basis for countless delicious dishes.
- Cost-Effective: Buying chicken breasts in bulk when they’re on sale and prepping them for the freezer can lead to significant savings over time.
- Reduced Food Waste: By preparing larger quantities and freezing portions, you can minimize waste and ensure you use all your ingredients efficiently.
The Secret to Juicy Chicken: Mastering the Brine and Marinade
The key to exceptionally tender and flavorful grilled chicken, especially when planning to freeze it, lies in the brining and marinating process. This not only infuses the chicken with taste but also ensures it remains moist throughout cooking and reheating.
What is Brining and Why Does it Work?
Brining involves soaking meat in a saltwater solution. This process works on a scientific principle called osmosis. The salt in the brine helps the chicken absorb moisture, leading to a juicier end product. More than just adding moisture, brining also denatures the protein fibers in the chicken, making them less likely to seize up and toughen during cooking. The result is consistently tender chicken, even after grilling and freezing.
Crafting Your Perfect Grilled Chicken Brine
Our simple yet effective brine recipe forms the foundation for delicious chicken. It’s easy to prepare and uses common pantry staples:
- Start by placing 1 cup of boiling water into a large bowl. This hot water is crucial for dissolving the salt and sugar quickly and thoroughly.
- Whisk in the salt and brown sugar until they are completely dissolved. Ensure there are no granules remaining, as this guarantees even flavor distribution.
- Next, add 3 cups of cold water. This cools down the brine to a safe temperature for the chicken.
- Finally, incorporate the peppercorns, garlic powder, and onion powder. These aromatics add depth and a savory kick to the chicken, creating a balanced and enticing flavor profile.
And just like that, your flavorful chicken breast brine is ready! For an extra layer of flavor, consider adding fresh herbs like rosemary or thyme, a bay leaf, or a squeeze of lemon juice to your brine.
Elevating Flavor: The Power of a Food Injector
While soaking chicken in brine is effective, using a food injector takes the flavor and moisture infusion to the next level. Many commercially frozen chicken products are injected with a sodium solution to enhance moisture, and you can achieve similar, if not better, results at home.
Once your chicken is in the brine, use a food injector to carefully inject some of the brine directly into the thickest parts of the chicken breasts. This method ensures that the flavorful marinade penetrates deep into the meat, not just the surface. The internal brining process results in chicken that is incredibly moist from the inside out, making it more resilient to drying during grilling and providing a burst of flavor in every bite. Investing in a good quality food injector is a small step that yields significant culinary rewards.
Brining & Marinating Chicken: Time and Technique for Optimal Results
The duration of your brining period is crucial for achieving the desired tenderness and flavor without over-salting the chicken. Proper technique ensures food safety and maximum effectiveness.
How Long Should You Brine Chicken?
The ideal brining time depends on your schedule and desired intensity:
- For quick results: Marinate your chicken breasts for at least 2 hours at room temperature before grilling. This is perfect if you’re short on time but still want to benefit from the brine.
- For deeper flavor and moisture: For the most tender and flavorful outcome, marinate the chicken overnight (8-12 hours) in the refrigerator. Before grilling, it’s essential to allow the chicken to sit at room temperature for about an hour. This step helps the chicken cook more evenly and prevents it from seizing up when it hits the hot grill.
Always ensure the chicken is completely submerged in the brine. If needed, place a plate or a smaller bowl on top of the chicken to keep it fully immersed. Proper brining sets the stage for a truly succulent grilled chicken experience.
Grilling Chicken Breasts to Perfection
Grilling is the preferred method for cooking these chicken strips as it adds a wonderful smoky flavor and creates appealing char marks. Achieving perfectly grilled chicken involves a few simple steps.
Preparing Your Chicken for the Grill
Before grilling, it’s beneficial to pound your chicken breasts to an even thickness, typically about 1 inch. This ensures uniform cooking, preventing thinner parts from drying out while thicker sections finish cooking. Use a meat mallet or a heavy pan between two sheets of plastic wrap. As mentioned, allowing the brined chicken to come to room temperature for about an hour before grilling is vital for even cooking and preventing toughness.
Grilling Technique for Tender, Flavorful Strips
Follow these steps for perfectly grilled chicken:
- Pre-heat your grill to high heat. This initial high heat creates a great sear and helps prevent sticking.
- Once the grill is hot, place the room temperature chicken breasts onto the heated grates.
- Immediately reduce the heat to medium. This allows the chicken to cook through without burning the exterior.
- Grill each side for approximately 4 minutes, or until the chicken is fully cooked. The internal temperature should reach 165°F (74°C). Use a meat thermometer to ensure accuracy. Juices should run clear when pierced.
- Once cooked, remove the chicken from the grill and let it rest for 5-10 minutes. This allows the juices to redistribute throughout the meat, resulting in a more tender and moist chicken.
By following these grilling guidelines, you’ll produce perfectly cooked chicken breasts, ready for slicing and freezing.
The Freezer Advantage: How to Store Your Pre-Cooked Chicken Strips
The beauty of this recipe lies in its freezer-friendliness. Proper freezing techniques are essential to maintain the quality and taste of your pre-cooked grilled chicken strips.
Cooling and Slicing Your Grilled Chicken
After grilling and resting, allow the chicken breasts to cool completely to room temperature. This is crucial for food safety and to prevent condensation and ice crystal formation in the freezer. Once cooled, slice the chicken breasts into uniform strips, or dice them, depending on your preferred future use. This pre-slicing makes them even more convenient for quick meals.
The Flash Freezing Method: Preventing Clumps
To prevent your chicken strips from freezing into one large, unmanageable block, use the flash freezing method:
- Place the sliced chicken strips onto a large baking tray in a single layer, ensuring they are not touching.
- Flash freeze the tray for 1-2 hours, or until the chicken pieces are completely solid.
- Once solid, transfer the frozen chicken strips into a gallon-sized zip-lock bag or an airtight freezer-safe container. This step ensures that you can easily grab individual portions as needed without thawing the entire batch.
Long-Term Storage Tips
Properly stored, your pre-cooked grilled chicken strips can last for up to 3-4 months in the freezer without significant loss of quality. Always label your bags or containers with the date of freezing to keep track. Push out as much air as possible from zip-lock bags to prevent freezer burn, which can dry out and affect the texture of the chicken. When you’re ready to use them, simply thaw the desired amount in the refrigerator overnight or use the defrost setting on your microwave, then reheat gently.
Endless Meal Possibilities: How to Use Your Ready-to-Eat Chicken Strips
Once you have a stash of these versatile pre-cooked grilled chicken strips, your meal options are truly limitless. They are the ultimate meal prep component, saving you time and effort on busy days.
Quick & Easy Lunch Ideas
- Ultimate Chicken Salad: Toss thawed chicken strips with mixed greens, cherry tomatoes, cucumbers, bell peppers, and your favorite dressing for a refreshing and hearty salad.
- Speedy Wraps & Sandwiches: Layer chicken strips with cheese, lettuce, tomato, and a spread (like hummus or mustard) in a tortilla or between slices of bread for a quick lunch on the go.
- Mediterranean Bowls: Combine with quinoa, olives, feta, chickpeas, and a lemon-tahini dressing for a vibrant and protein-packed bowl.
Dinner Inspirations
- Weeknight Pasta Dishes: Add sliced chicken to pasta with marinara, pesto, or a creamy Alfredo sauce. It integrates seamlessly and adds robust protein.
- Healthy Stir-Fries: Sauté your favorite vegetables and then toss in the pre-cooked chicken strips with a delicious stir-fry sauce for a fast and nutritious dinner.
- Cheesy Quesadillas or Tacos: Shred or dice the chicken, mix with cheese, and grill between tortillas for a simple quesadilla, or load into tortillas with your favorite taco fillings.
- Flavorful Rice Bowls: Serve over a bed of rice (brown, white, or cauliflower rice) with roasted vegetables and a drizzle of soy sauce or a spicy peanut sauce.
- Hearty Soups & Stews: Towards the end of cooking, add the thawed chicken strips to soups or stews for an instant protein boost.
Healthy Snacking Options
- Protein Power Bites: Enjoy a few strips with a side of hummus or guacamole for a satisfying and healthy snack.
- Chicken Skewers (reheated): Thread onto small skewers with cherry tomatoes and bell peppers for an attractive and easy snack.
The beauty of these grilled chicken strips is their ability to transform simple ingredients into complete, satisfying meals with minimal effort. They are truly a cornerstone of efficient and healthy meal planning.
Essential Equipment for Your Kitchen
To successfully execute this recipe and maximize your meal prep efficiency, a few key pieces of kitchen equipment will be invaluable:
- Large Mixing Bowl: For preparing your brine.
- Whisk: To ensure salt and sugar dissolve completely.
- Food Injector: Highly recommended for infusing the chicken with internal moisture and flavor.
- Grill: A gas or charcoal grill will impart the best flavor. An indoor grill pan can also work.
- Meat Thermometer: Essential for ensuring the chicken is cooked to a safe internal temperature (165°F / 74°C).
- Baking Tray: For flash-freezing the chicken strips.
- Gallon-Sized Zip-Lock Bags or Airtight Freezer Containers: For long-term storage of your pre-cooked chicken.
- Meat Mallet (optional): For pounding chicken breasts to an even thickness.
Pro Tips for Success
To ensure your grilled chicken strips turn out perfectly every time, keep these expert tips in mind:
- Don’t Overcrowd the Grill: Cook chicken in batches if necessary. Overcrowding can lower the grill’s temperature and steam the chicken instead of grilling it, preventing a good sear.
- Avoid Overcooking: This is the most common mistake. Always use a meat thermometer. Chicken that’s cooked beyond 165°F (74°C) will become dry and tough, even if brined.
- Experiment with Flavors: While our brine is fantastic, don’t hesitate to experiment with different spices, herbs, or even a touch of liquid smoke in your brine to customize the flavor to your liking.
- Batch Cooking Strategy: This recipe is designed for batch cooking. Plan to make a large quantity on a day when you have a bit more time, and enjoy the benefits throughout the week or month.
- Thaw Properly: Always thaw frozen chicken in the refrigerator. Avoid thawing at room temperature for extended periods to prevent bacterial growth.

Rate
Pin
Grilled & Ready Precooked Chicken Breast Strips (Freezer Recipe)
Ingredients
-
5 lbs chicken breasts (pounded to about 1″ thickness)
-
1/4 cup salt
-
1/4 cup brown sugar
-
12 whole peppercorns
-
4 cups water (1 cup boiling, 3 cups cold)
-
1/4 tsp garlic powder
-
1/4 tsp onion powder
Instructions
-
Prepare the Brine: In a large bowl, pour 1 cup of boiling water. Whisk in the salt and brown sugar until completely dissolved. Add the remaining 3 cups of cold water, peppercorns, garlic powder, and onion powder. Stir well to combine.
-
Brine the Chicken: Place the pounded chicken breasts into the prepared brine. Using a food injector, inject some of the brine directly into the thickest parts of the chicken for maximum moisture and flavor. Ensure all chicken is submerged.
-
Marinade Time: For quick brining, marinate at room temperature for at least 2 hours before grilling. For best results, marinate overnight (8-12 hours) in the refrigerator. If refrigerating, allow the chicken to sit at room temperature for about 1 hour before grilling.
-
Grill the Chicken: Pre-heat your grill to high heat. Place the room temperature chicken breasts onto the heated grill. Immediately reduce the heat to medium. Grill each side for approximately 4 minutes, or until the internal temperature reaches 165°F (74°C) and the juices run clear. Remove from grill and let rest for 5-10 minutes.
-
Cool and Slice: Allow the grilled chicken breasts to cool completely to room temperature. Once cooled, slice them into strips or dice them as desired.
-
Flash Freeze: Arrange the sliced chicken strips in a single layer on a large baking tray, making sure they don’t touch. Flash freeze for 1-2 hours until solid.
-
Store: Transfer the flash-frozen chicken strips into a gallon-sized zip-lock bag or an airtight freezer-safe container. Remove as much air as possible, label with the date, and keep frozen for up to 3-4 months.
Nutrition per serving


Conclusion: Your Path to Smarter Meal Prep
Embracing the strategy of preparing freezer-friendly grilled chicken strips is a simple yet profoundly effective way to take control of your meal planning. By investing a little time upfront, you equip yourself with a versatile, healthy, and delicious protein source that can be transformed into countless meals throughout the week or month. No more scrambling for dinner ideas or reaching for less healthy options when hunger strikes.
This method not only saves you precious time but also encourages healthier eating habits, reduces food waste, and is kind to your wallet. So, the next time you spot a good deal on chicken breasts, stock up! Follow this guide to brine, grill, and flash freeze your way to a more organized, flavorful, and stress-free kitchen. Your future self will thank you for making meal prep a breeze!
